[ad_1]
Docker has totally revolutionized how we build, offer, and ship application. Docker has designed it achievable for builders to package their applications and share them with other folks. Due to the fact of Docker, we now see so quite a few breakthroughs in cloud computing. Many rising startups preserve Docker technological know-how as their foundation. Moreover, Docker enhanced the DevOps strategy by bridging the gap in between Dev and Ops teams. Now, we will wander through a easy tutorial demonstrating how you can create a basic ‘Hello World’ application—and we’ll be Dockerizing it.
Pre-requisites:
Tutorial
Build An Software
Create a listing to keep your application and dependencies. You can opt for any name you want. I am picking out the title ‘expapp’.
mkdir expapp
Initialize the application with the command npm init -y. This will build your bundle.json file with your dependencies, alongside with the title and description of the software.
 "name": "expapp",
 "version": "1..",
 "description": "",
 "primary": "index.js",
 "scripts":
   "test": "mocha"
 ,
 "keywords": [],
 "creator": "",
 "license": "ISC",
We will incorporate the Convey framework as a dependency by managing the adhering to command on the project’s root directory.
npm put in categorical --help save
At the time you add this dependency, you can go back again and look at your offer.json file. It should now have the express dependency listed.
 "identify": "expapp",
 "model": "1..",
 "description": "",
 "most important": "index.js",
 "scripts":
   "exam": "mocha"
 ,
 "key phrases": [],
 "writer": "",
 "license": "ISC",
 "dependencies":
   "specific": "^4.17.3"
As soon as you add specific as a dependency, you need to see two much more documents created in your principal listing: package-lock.json and node_modules. We will not go into element as this is not the aim of this tutorial. If you really want to know extra, you can go through this receiving started off information.
Now, it is time to include our main code to the application.js file.
Develop a file named application.js and insert the next code:
application.hear(PORT, () => console.log(`Server is up on localhost:$PORT`) )” knowledge-lang=””>
const categorical = need('express')
const application = specific()
const PORT = method.env.PORT || 3002
app.get("https://dzone.com/", (ask for, reaction) =>
reaction.position(200).json(
information: 'Hello Docker!',
)
)
application.hear(PORT, () =>
console.log(`Server is up on localhost:$PORT`)
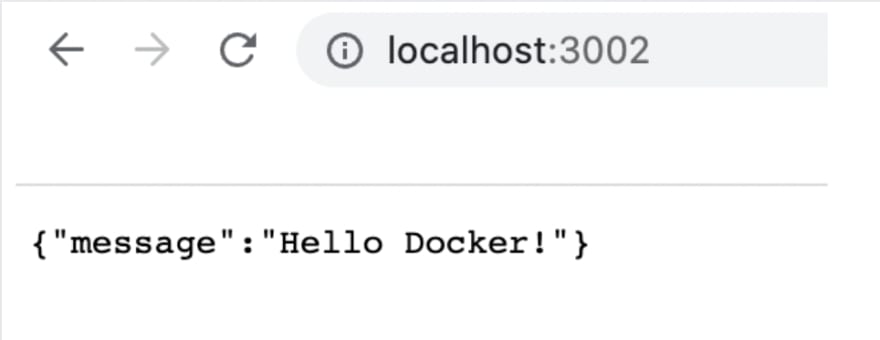
)In the earlier mentioned file, we are configuring the app—basically producing express a required dependency and making the application begin a server and pay attention on port 3002 for connections. The app responds with “message”: “Hello Docker!” for requests to the root URL (/) or route. For just about every other path, it will reply with a 404 Not Discovered.
Our very simple application is all set. Now, we can take a look at to see if it operates correctly by managing it. Operate the command node application.js and you ought to see the output below when you hit the http://localhost:3002/.

Develop a Dockerfile
Let’s create a Dockerfile to make an image of our application. Go to the root listing of your software, develop a file named ‘Dockerfile,’ and add the adhering to code to it.
FROM node:14-alpine AS advancement
ENV NODE_ENV advancement
# Insert a work directory
WORKDIR /app
# Cache and Put in dependencies
Duplicate package deal.json .
Run npm install
# Duplicate application files
Duplicate . .
# Expose port
EXPOSE 3002
# Begin the app
CMD [ "node", "app.js" ]
Listed here in the Dockerfile, we are working with Node:14-alpine as the template for our graphic.
Established the working directory in the container to /app. We will use this directory to keep data files, run npm, and launch our application, exposing the port 3002 for our application to operate.
Lastly, the previous line specifies how our application will start off.
Optional: Build a .dockerignore file to reduce your neighborhood modules and logs to be copied onto your Docker impression. Point out these two things: node_modules and npm-debug.log in your .dockerignore file.
Make an Image of the Application
After you help save the file in your root listing, let us develop an picture with the Dockerfile we just wrote. This can be finished with the adhering to Docker establish command.
docker build -t express-application . -t parameter sets a title for your Docker impression. I am naming my impression exp-application. You can identify yours whatsoever you want 🙂 As soon as the command runs correctly, you really should verify the picture designed by employing the command docker visuals

Start the Container
The graphic is designed!ad It is time to launch the Docker container with assigned ports employing the subsequent command: docker run -p 3002:3002 specific-app
Press to Docker Hub
Now, let us thrust this impression to our Docker hub. Make absolutely sure you are logged into your Docker hub from your terminal. You can do this by using the command docker login.
You want to construct the image once more applying your Docker hub credentials. docker create -t [USERNAME]/convey-application . Include your username in the specified discipline higher than – it is your Docker hub username.
As soon as you build it with your Docker hub credentials, drive it to your Docker hub making use of the command docker drive [USERNAME]/categorical-application.
You really should see a new graphic pushed to your Docker hub. You can confirm this by going to your Docker hub dashboard:
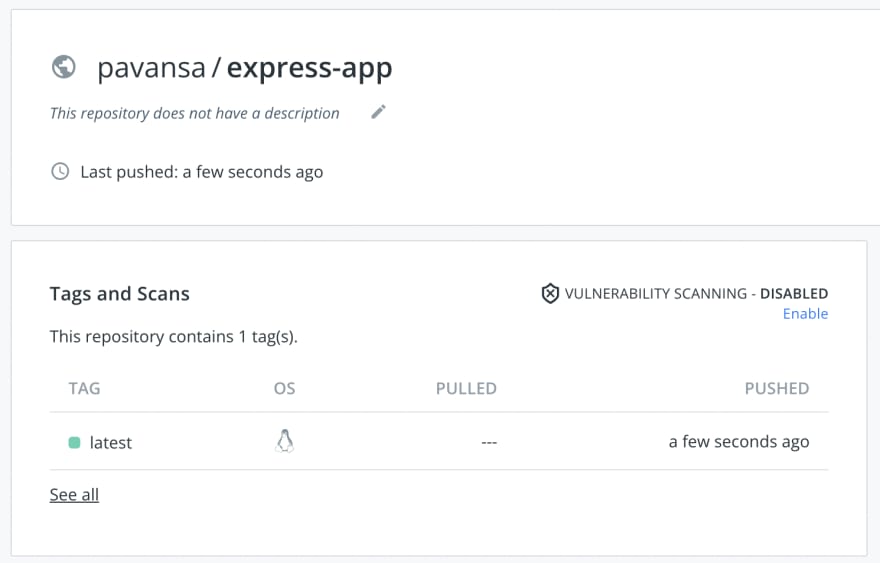
Fantastic! Now, you can use this graphic anywhere. Share it with your fellow developers and lessen the time and work to rebuild it on their equipment.
Validate if we have pushed the ideal graphic to Docker Hub by functioning the down below command: docker operate [USERNAME]/categorical-application
You should see the application running on the specified port with the adhering to output:
Test that by heading to your http://localhost:3002/.
You are A single Step Nearer to Remaining a Docker Pro Congratulations! You made an application, built an graphic of the software, and pushed it to the Docker Hub container registry Hub.
Not a admirer of copying and pasting code blocks from site posts? You can see all the code in this application’s GitHub repository.
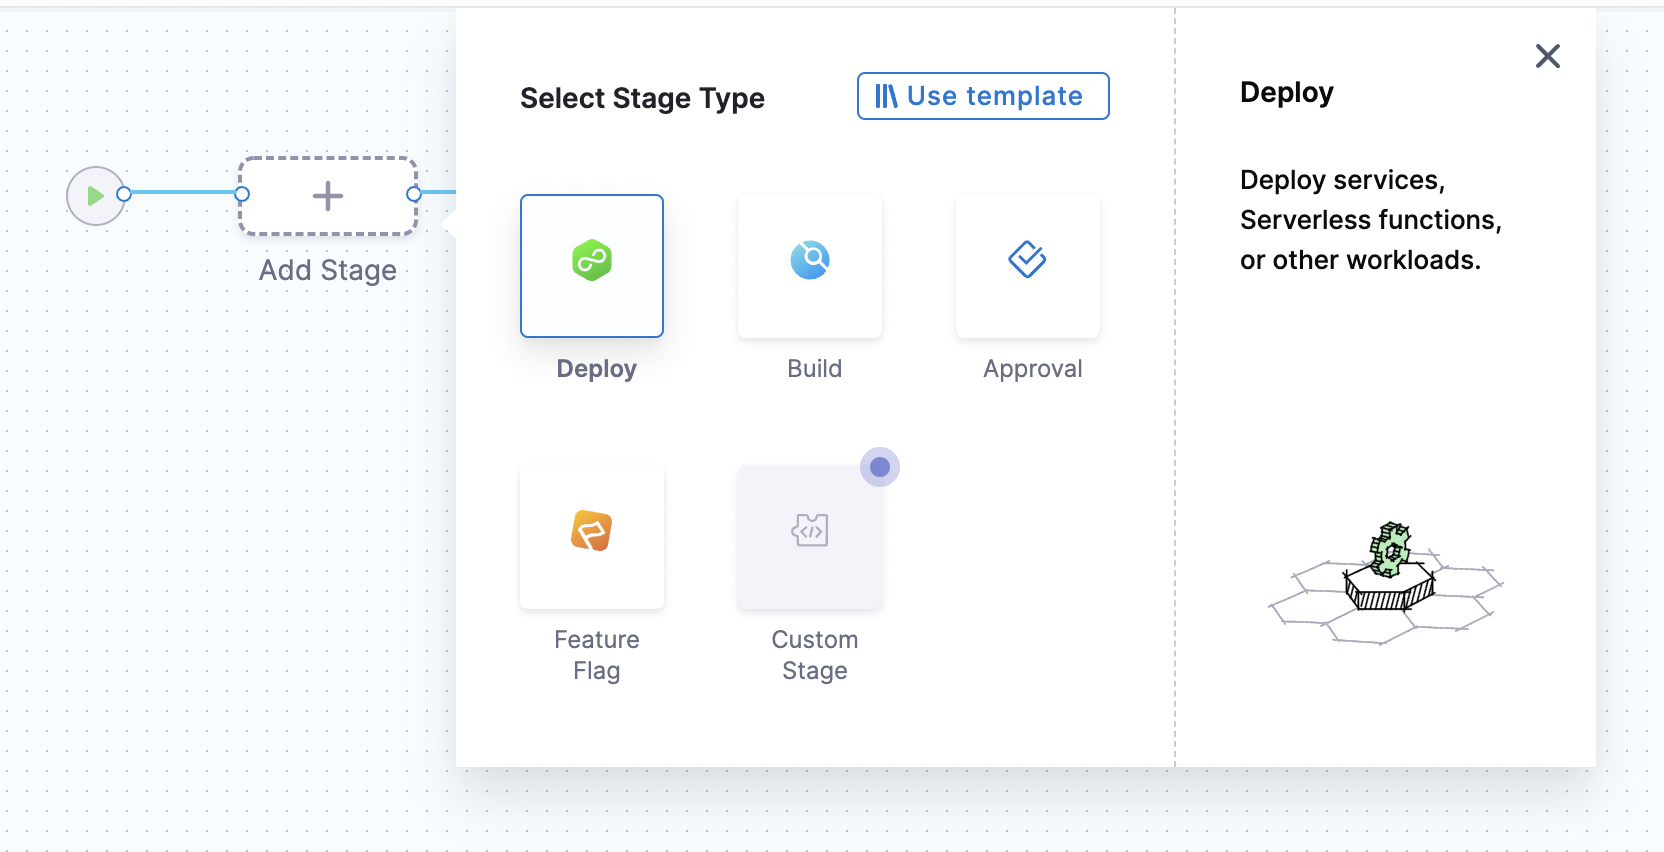
You obtained an concept on how to develop a uncomplicated application and Dockerize it the up coming move is to deploy this software to the cloud. We will consider Kubernetes as our platform to deploy this app for great explanations. In our following tutorial, we’ll go more than how to deploy a Node.js software to Kubernetes.
[ad_2]