Being an Android Virtual Device (AVD), the Android emulator represents a specific Android device which is used as a target device to execute and test an Android application on a computer. All the functionalities of a real device are facilitated by the Android emulator. Even phone calls and text messages can be received on an Android emulator. It also gives The location of the device can also be provided by the Android emulator which simulates different network speeds. The rotation and other hardware sensors are also stimulated by the Android emulator which also accesses the Google Play store. The test of the Android applications on a real device can be slower and complex than doing on an emulator sometimes. The data transfer for instance, in a real device connected through USB is slower than an emulator. With predefined configurations for different Android phones, Wear OS, tablets, Android TV devices, the Android emulator is more efficient to use.
Requirement and recommendations:
Apart from the basic system requirement for Android Studio, the Android emulator have many more requirements. These are:
- SDK Tools 26.1.1 or higher
- 64-bit processor
- Windows: CPU with UG (unrestricted guest) support
- HAXM 6.2.1 or later (recommended HAXM 7.2.0 or later)
Install the emulator:
During the installation of the Android Studio, the Android emulator is installed. However, during the installation of the Android Studio, there are chances that some components of the emulator are failed to install. In the SDK Tools tab of the SDK Manager, we can select the Android Emulator component, to install the emulator component.
To run an Android app on the Emulator:
An Android app can be run directly from the Android Studio project. We can also run an app installed on the Android Emulator. It is much similar to an app running on a device. To run an application on the Android Emulator follow the below steps:
- Create an Android Virtual Device (AVD) in the Android Studio. This AVD will be used by the emulator to install and run an app. Follow the below steps to create a new AVD:-
- Click on Tools > AVD Manager to open the AVD Manager.
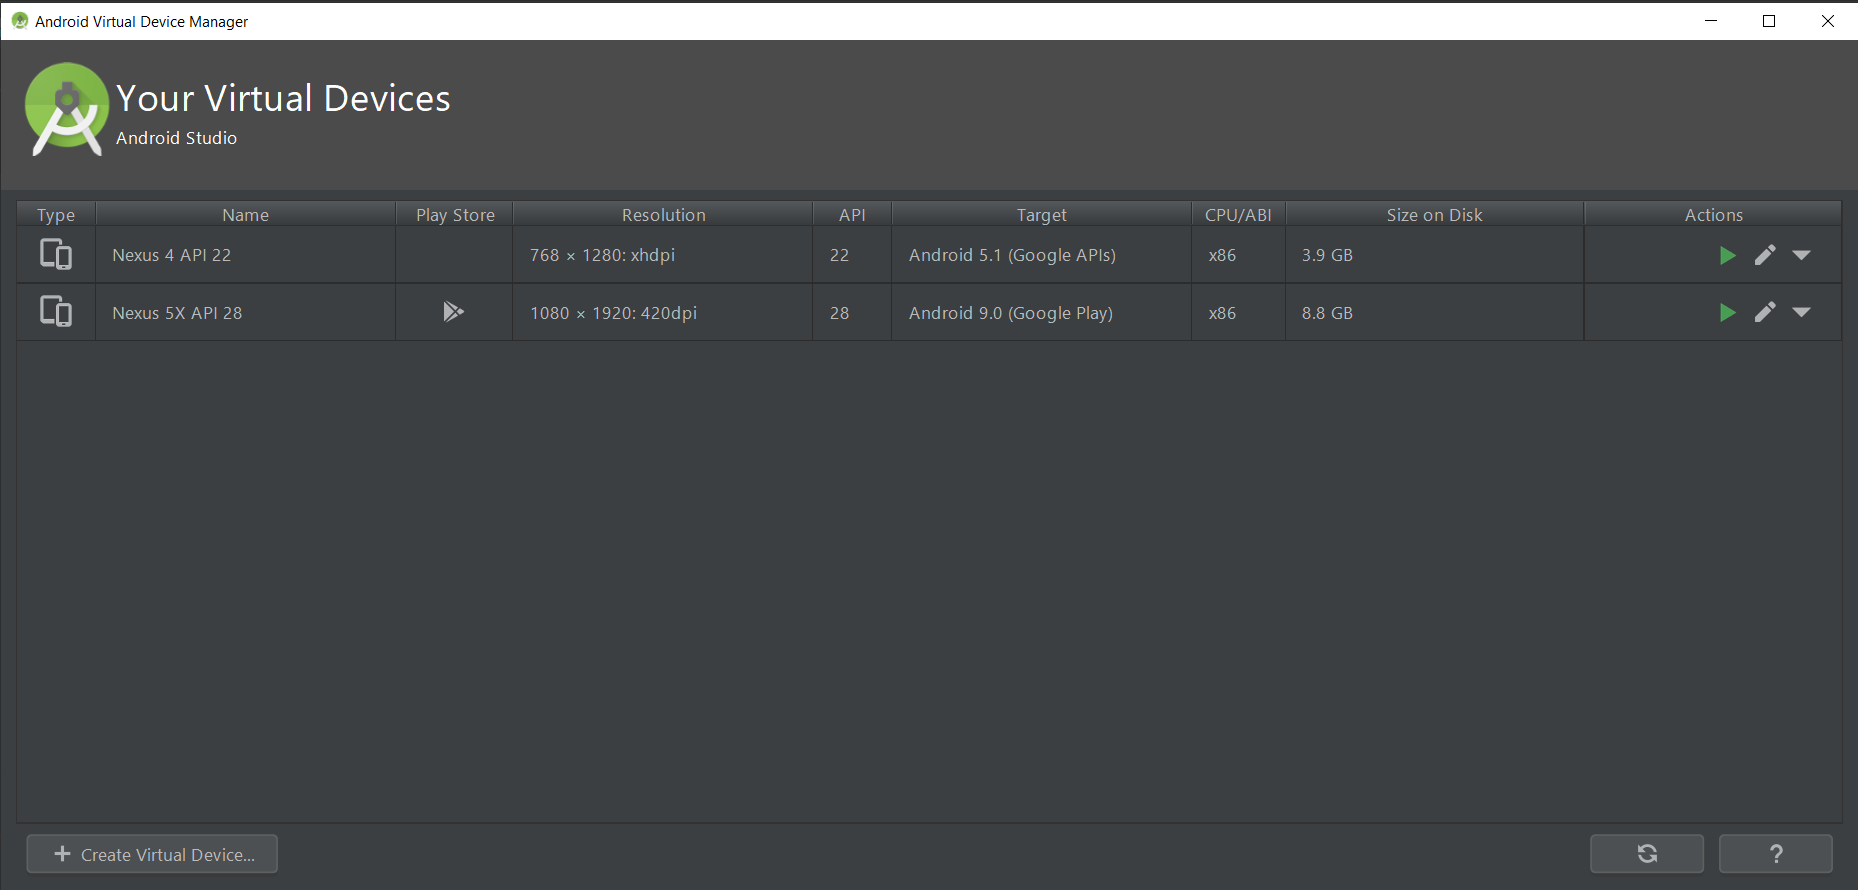
- At the bottom of the AVD Manager dialog the Create Virtual Device option is present. Click on it.
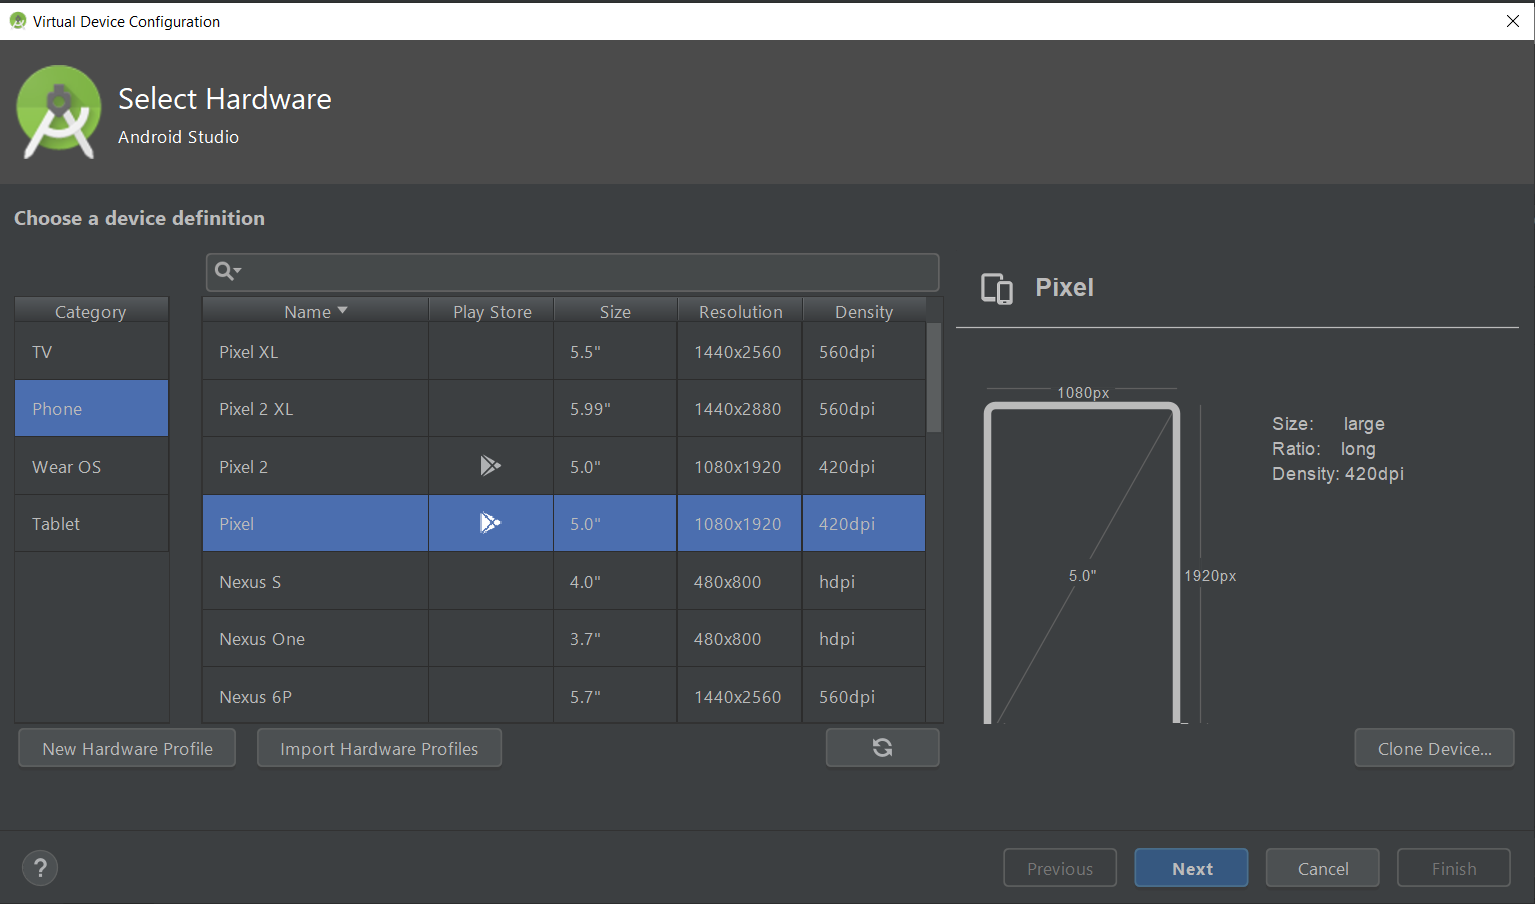
- The Select Hardware page will appear from where we have to select a hardware profile.
- Click on Next.
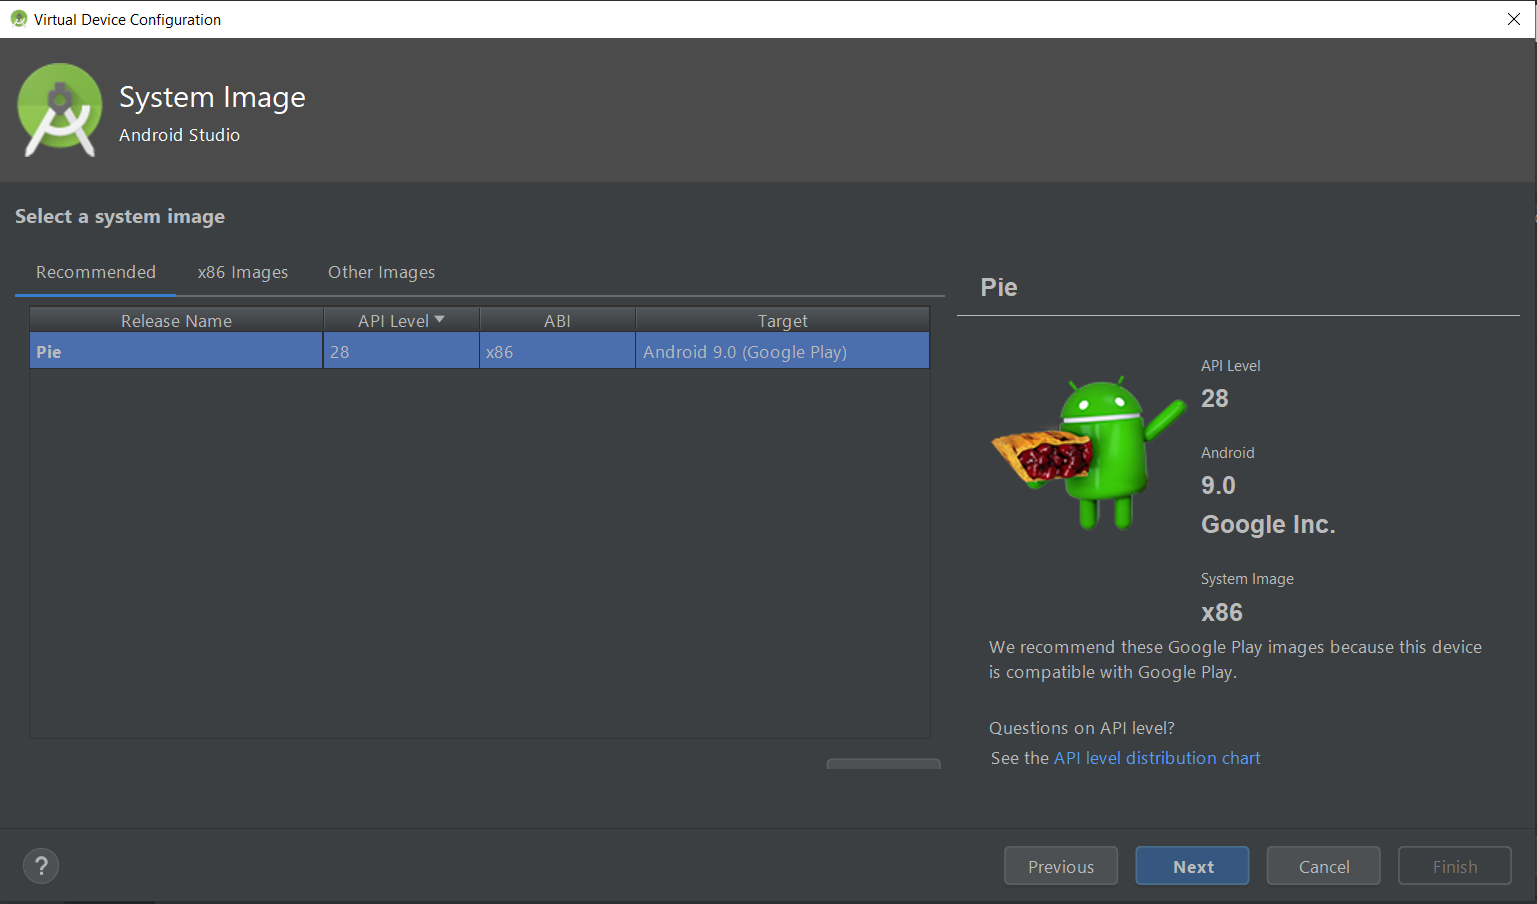
- We can create or import a hardware profile, in case the hardware profile we want is not available there. Then the System Image page will appear.
- Now for the particular API level, we need to select the system image.
- Click on Next.
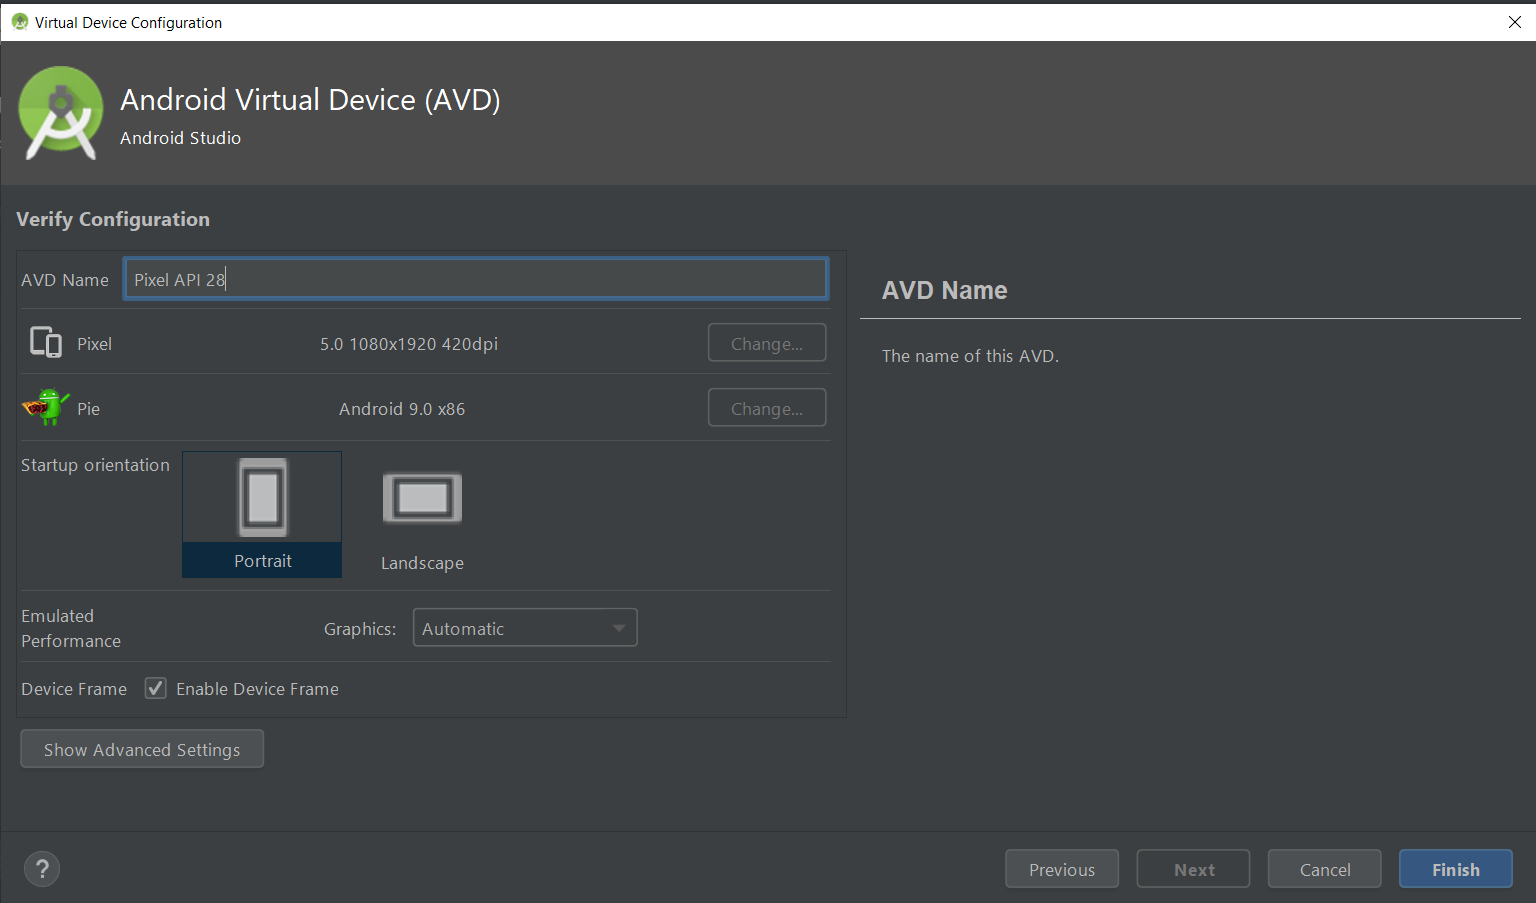
- The Verify Configuration page will open from where we can change the AVD properties if required.
- Click on Finish.
- Choose the AVD to run the app from the target device from the drop-down menu in the toolbar.
- Click on Run.
To launch the Emulator without first running an app:
To launch the emulator, follow the below steps:
- Open the AVD Manager.
- Double-click an AVD, or click Run.
We can run the Android Studio project while the emulator is running. We can also select the emulator as the target device. To install on an emulator we can drag the APKs file and can also run them.
To start the emulator from the command line:
The Android device emulator is present in the Android SDK. Without using a physical device we can develop and test out an application using the Android emulator.
Starting the emulator:
The emulator can be started by using the emulator command. It can be considered as an alternative to run a project or to start through the AVD Manager.
The command-line syntax for starting a virtual device:
$ emulator -avd avd_name [ {-option [value]} ... ] |
or
$ emulator @avd_name [ {-option [value]} ... ] |
Example:
$ /Users/user_name/Library/Android/sdk/emulator/emulator -avd Nexus_5X_API_23 -netdelay none -netspeed full |
Explanation:
The above command line is similar to the default command line while executing the emulator from Android Studio on a Mac.
Command to display the list of AVD names:
$ emulator -list-avds |
To run and stop an emulator and to clear data:
The below operation can be performed on an emulator from the Virtual Device page:
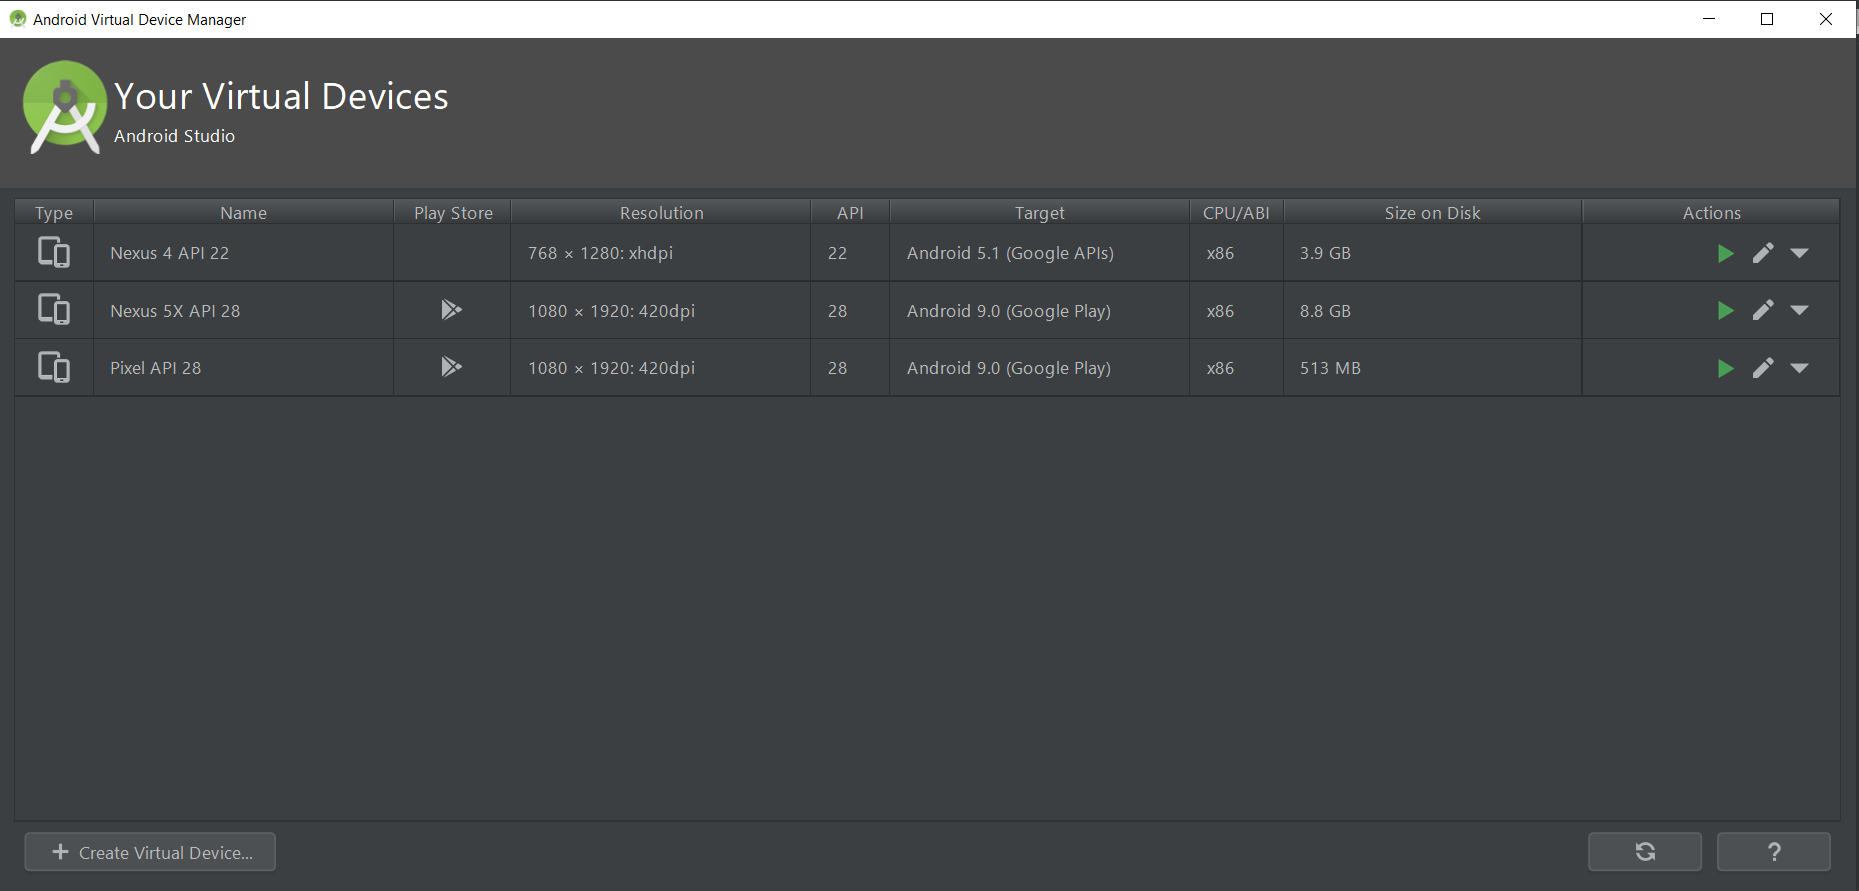
- Double-click the AVD, or click Launch, to run an Android emulator that uses an AVD.
- Click Menu ▼ and select Stop or Right-click and select Stop to stop the running emulator.
- Click Menu ▼ and select Wipe Data or Right-click on AVD and select Wipe Data to clear the data from an emulator and return it to the initial state when it was first defined.