- First, Select the Picture or Clip Art that you want to edit
- The Format tab will now appear in the Ribbon next to View tab
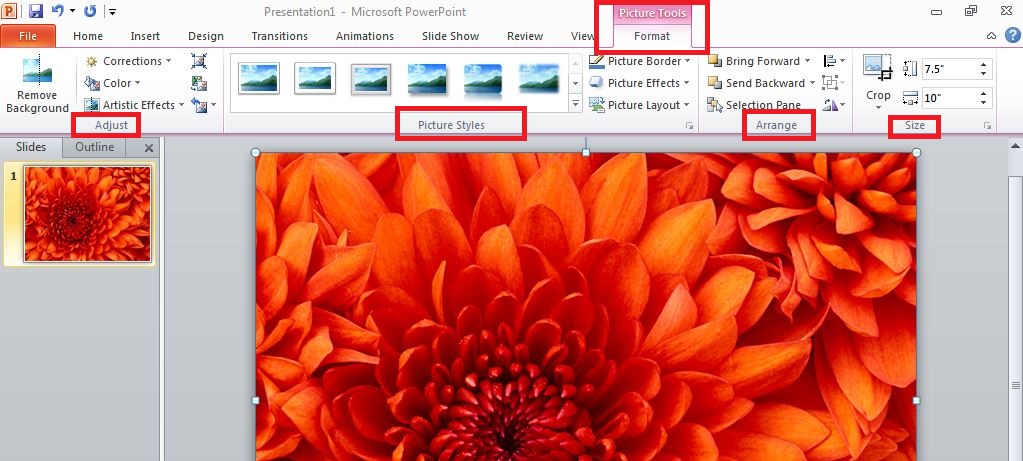
- It displays the four further groups of commands; Adjust, Picture Styles, Arrange and Size group
See the image:
The Adjust group on the other hand displays six commands.
See the image:
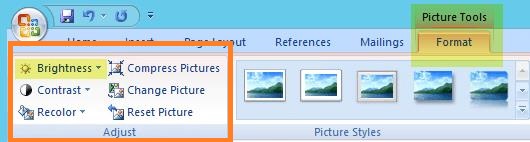
- Brightness: To increase and/or decrease the picture brightness
- Picture Contrast: To increase and/or decrease the picture contrast
- Recolor: To recolor the given picture to give it a special effect
- Compress Picture: To compress the given picture to reduce its size
- Change Picture: To change the entire picture
- Reset Picture: To discard all the previously done changes made to the picture
The Picture Styles group shows the picture styles and three commands.
See the image:
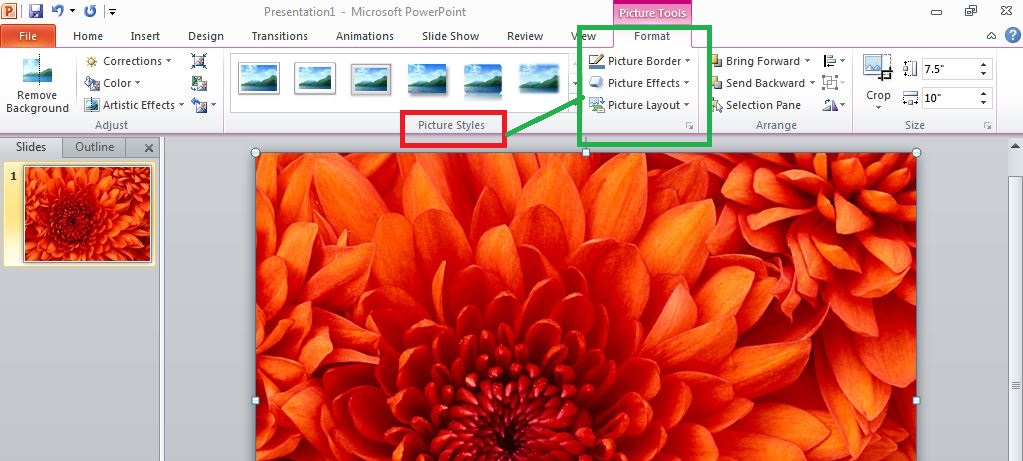
- Picture Styles: To apply a particular picture style to the picture or a clip art
- Picture Layout: To change the shape of the given picture or the clip art
- Picture Border: To give new and different colors to the picture border
- Picture Effects: To apply more visual effect to the picture
The Arrange group has mainly six commands:
See the image:
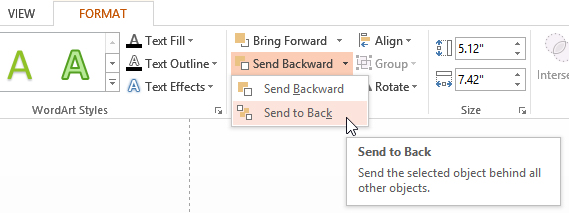
- Bring to Front: To bring the given picture in front of all the other objects
- Send to Back: To send the given picture behind all the other objects
- Selection Pane: It displays the selection pane with various different options to format and change order of pictures
- Align: To align the multiple pictures present on the slide. You can even distribute them very evenly across the slide.
- Group: To group several different objects together
- Rotate: To rotate the text or other such objects
The Size group has generally three commands.
See the image:
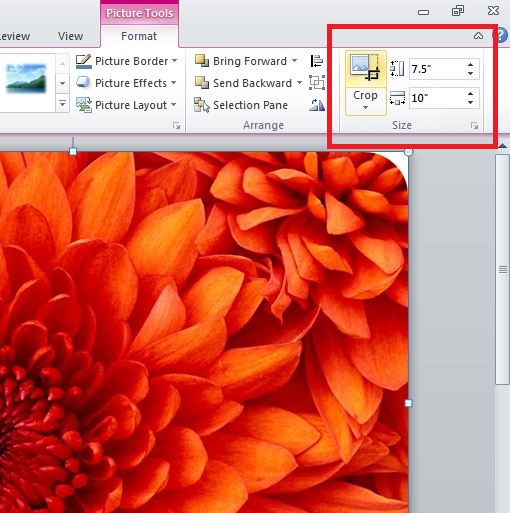
- Crop: To remove the unwanted parts/areas of the picture
- Height: To change the height of the given picture
- Width: To change the width of the given picture