Before finding out the answer for how to add captions to the images in WordPress, we would look into what caption is. Most probably you are already aware of the term Caption and that’s why you are here. So we would complete our definition of Captions in just a single sentence here and not in many details.
A brief text description, added to an image, intending to provide additional details about that image or something similar to that, is what a Caption is.
Adding captions to images in WordPress is not that much of a tough task and that’s why we are going to provide the easiest steps for beginners to do the same without any trouble.
Steps to Add Caption to Images in WordPress:
The built-in capability of WordPress facilitates effortless features for adding captions and other metadata like title and alternative text to any image in your WordPress website.
To add a caption to an image in WordPress, you can follow the below steps.
- Upload an image.
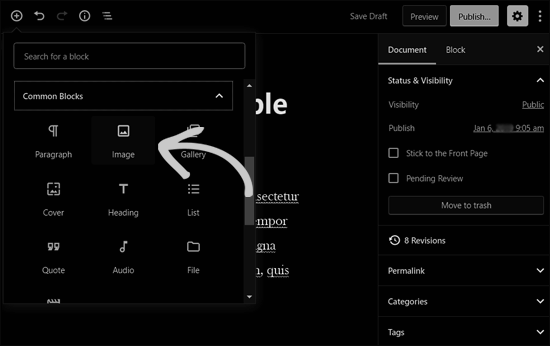
- Click the ‘Add Block’ icon from the post edit screen.
- Select the ‘Image’ block to add the Image block to the post area.
- Click on the Upload button.
- You can now select and upload the image you want, from your computer to WordPress.
- Or, click on the media library button.
- This way, you will be able to select a previously uploaded image.
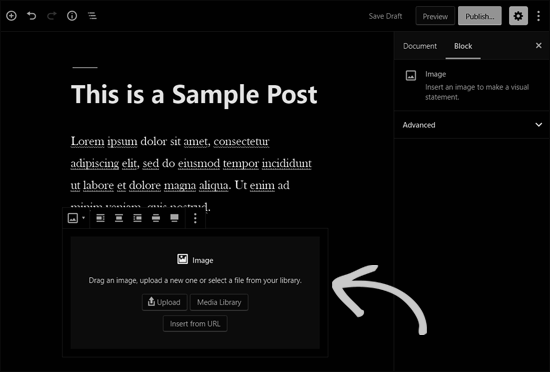
- The image will thus be added.
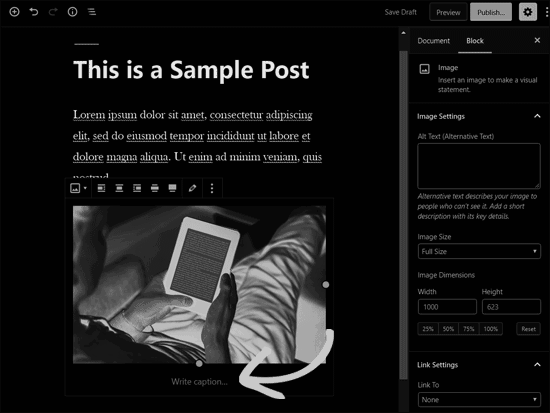
- The image should now appear inside the editor.
- Locate the text box labelled ‘Write caption…’ below the added image.
- Add the required caption for the image.
- Click on the publish or update button.
- The post will thus be saved.
You have now successfully added a caption to the image of your choice.
Steps to Add Captions to Your Gallery Images:
The Gallery block feature of the WordPress editor facilitates the uploading of multiple images. These images are displayed by the Gallery block in a grid layout with rows and columns.
To add captions to images in a WordPress gallery block, you can follow the below steps.
- Go to your page.
- Post an edit screen.
- Click the ‘Add Block’ icon.
- Go to the Common Blocks tab.
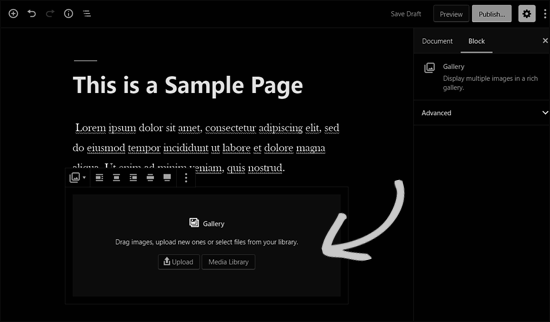
- Select the ‘Gallery’ block.
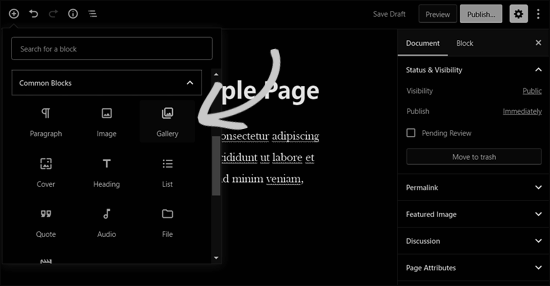
- You successfully added Gallery block to your page/post area.
- Now, you have two choices here,
- Upload images one by one from your computer.
- Select the pre-uploaded pictures from your media library.
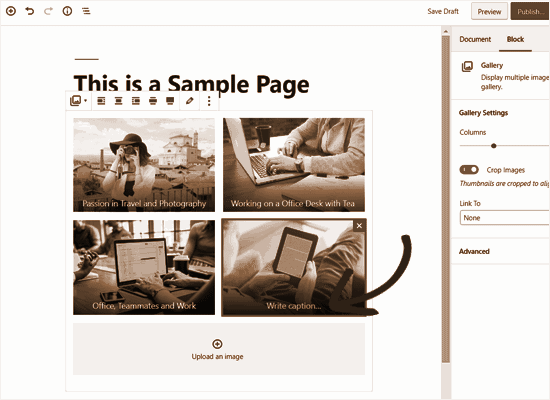
- If you are going with the first choice, then,
- After uploading each image, you can add a caption to it. Upload an image.
- Click on the image.
- The ‘Write caption…’ field will appear.
- Click on that and add a caption for the selected image.
- If you are going with the second choice, then,
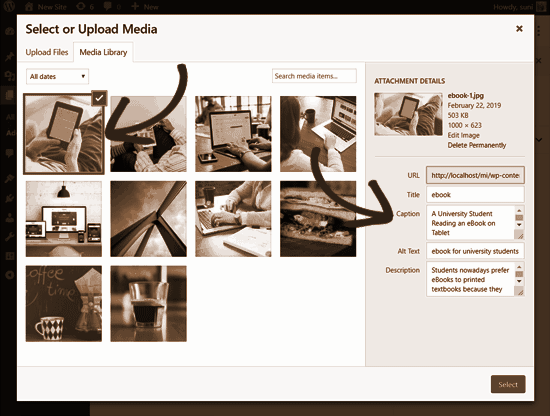
- Go to the image metadata section on the right.
- Add the desired captions to your images.
Steps to Add Captions to Images in WordPress Media Library:
It is not necessary to always embed the images in a post or page in WordPress. In WordPress, you also have a choice to upload images directly to the media library. If you are struggling with adding captions to images when uploading them directly to the Media Library, you can follow the below steps to solve your issue easily and efficiently.
- Visit the WordPress admin area.
- Go to the Media » Add New page.
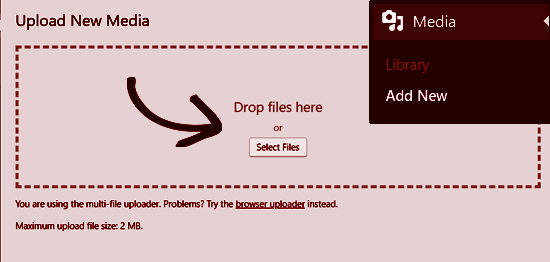
- Upload an image.
- Here, you have two choices:
- Drag and drop an image to upload.
- Select an image to upload from your computer.
- The uploaded image will appear below the Upload New Media box.
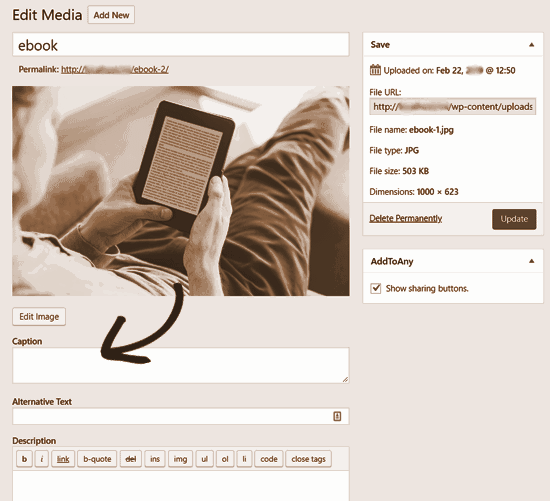
- Click on the ‘Edit’ link.

- The edit media page will open in a new tab.
- An attachment, such as an image, is treated as a default post type by WordPress.
- The edit media screen will thus have a similar appearance to that of the post edit screen.
- In the edit media screen, you have a lot of options for editing your image, such as,
- Editing the image title.
- Adding image metadata like caption, alternative text, and description.
After you update the selected image, the image metadata will then be saved in the media library. This means that on adding this image from your WordPress Media Library to any post, the image will be added along with the already saved metadata. Further addition of a caption or other metadata will not be required for this image.
Steps to Add Captions to Images in WordPress with Old Classic Editor:
To add captions to images in WordPress using the old Classic Editor, follow the below steps.
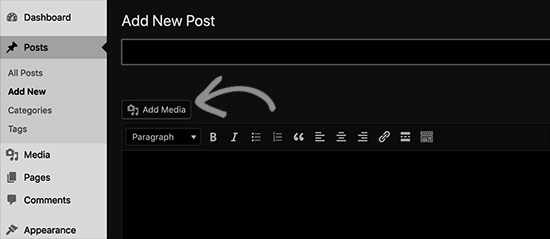
- Locate the Add Media button above the post editor.
- Click on the Add Media button.
- Now you can either
- Upload an image from your computer, or
- Select an already saved image from your WordPress media library.
- Upload the image.
- Enter metadata such as title, alt text, caption, etc.
- Click on the Insert into post button.
- You will thus get an option to add the selected image to a post.
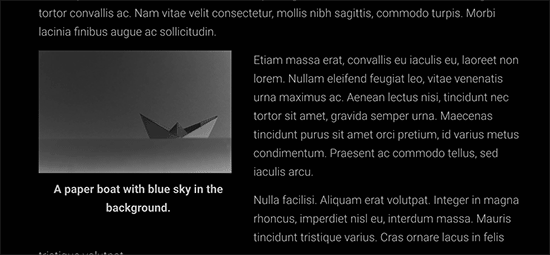
- The image preview along with the caption will, thus, be displayed in the post editor.
- Save the changes.
Steps to Add Captions to Gallery Images in WordPress with Classic Editor:
To add captions to images while creating a gallery using the Classic Editor, follow the below steps:
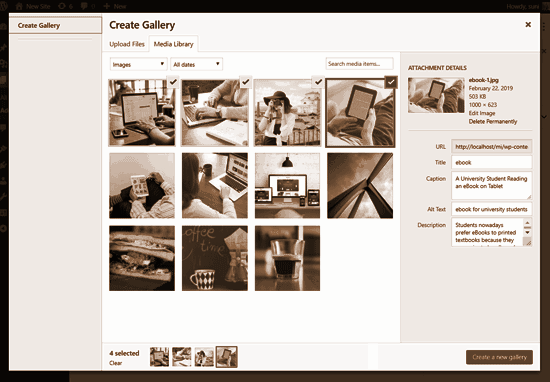
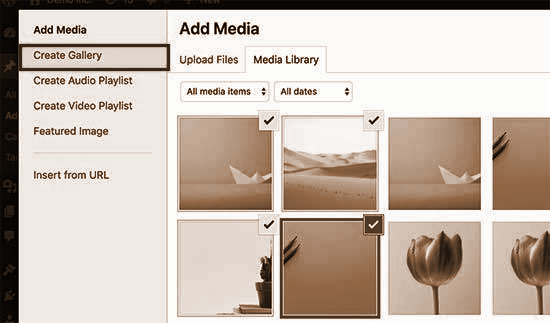
- Upload and select multiple images.
- Locate the ‘Create gallery’ link in the left column.
- Click on the ‘Create gallery’ link.
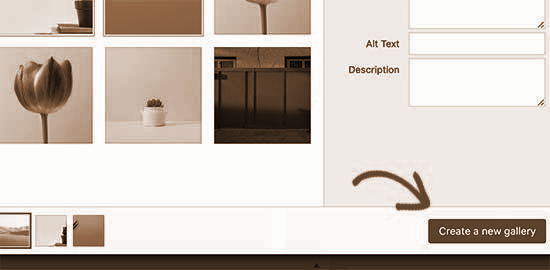
- Locate the Create a new gallery button at the bottom right corner of the popup.
- Click on the Create a new gallery button.
- Now you have two options,
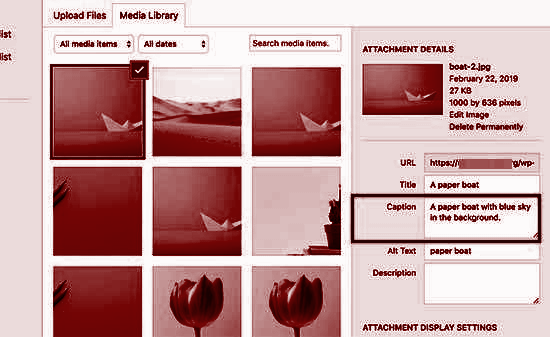
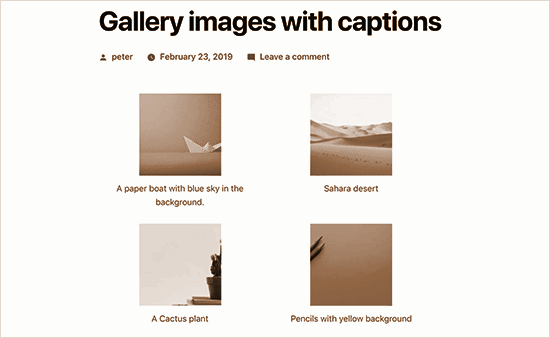
- Add captions directly below each image.
- Click on an image to load its settings in the right column and add the caption.
- Click on the Insert Gallery button.
- You can then add a gallery to a WordPress post.
In this article, we tried to cover most of the important scenarios for adding captions below images in WordPress. We hope that at least using one of the above-given methods you will be able to solve the issue of adding captions below the images in WordPress.