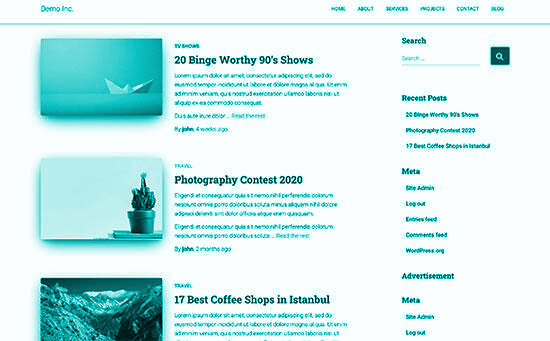
Post Thumbnails or Featured Images are a popular WordPress feature. A Featured Image can be simply understood as the primary image for a blog post. In WordPress, the image next to the heading on the home page and social media is usually a Featured Image. Most of the themes in WordPress have built-in support for the feature of Post Thumbnails or Featured Images.
A beginner might get confused between featured images and cover images. But, they are not the same. If you are getting confused about the difference between the two, you can take help from our article on cover images to get a more clear picture.
Adding featured images or post thumbnails in WordPress is an effortless task if you move ahead with the right steps in the right sequence. In this article, we are presenting some easy methods with easy steps to achieve the same.
Why use Featured Images in WordPress?
Being a WordPress theme feature, the featured images have many utilizations when it comes to the appearance of a website. We are listing some of these important attributes and uses of the featured images.
- The appearance of the featured images across different areas of a website gives it a more attractive look.
- They are attractive for the users and are thus helpful in increasing the number of views on the website.
- The featured images can also be displayed in search results of a search engine and social media news feeds of a social media website.
- Apart from the blog posts, the featured images can also be used for pages and custom post types.
How to Find and Effectively Use Featured Images?
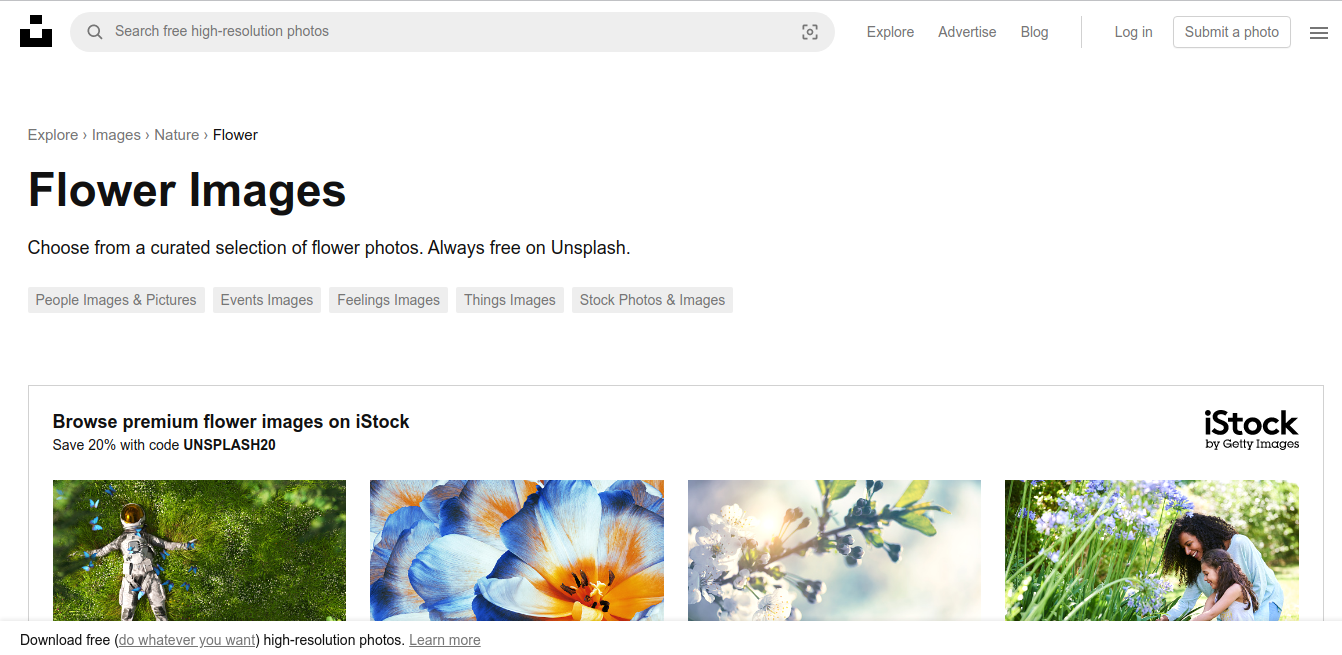
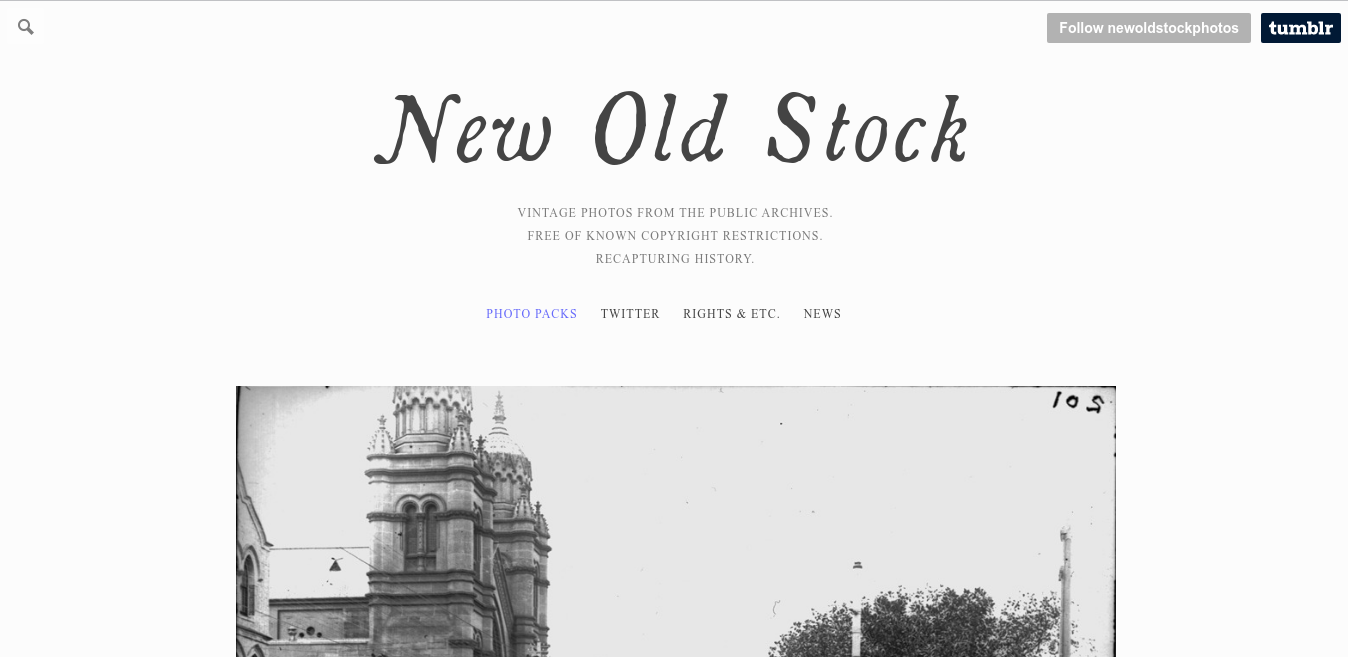
You might have to face issues related to copyright infringement if you are using Google image search or any image from the internet to find images to use as featured images. To avoid any legal trouble, you can use free images from the below resources, or some other similar resources.
- W3schools
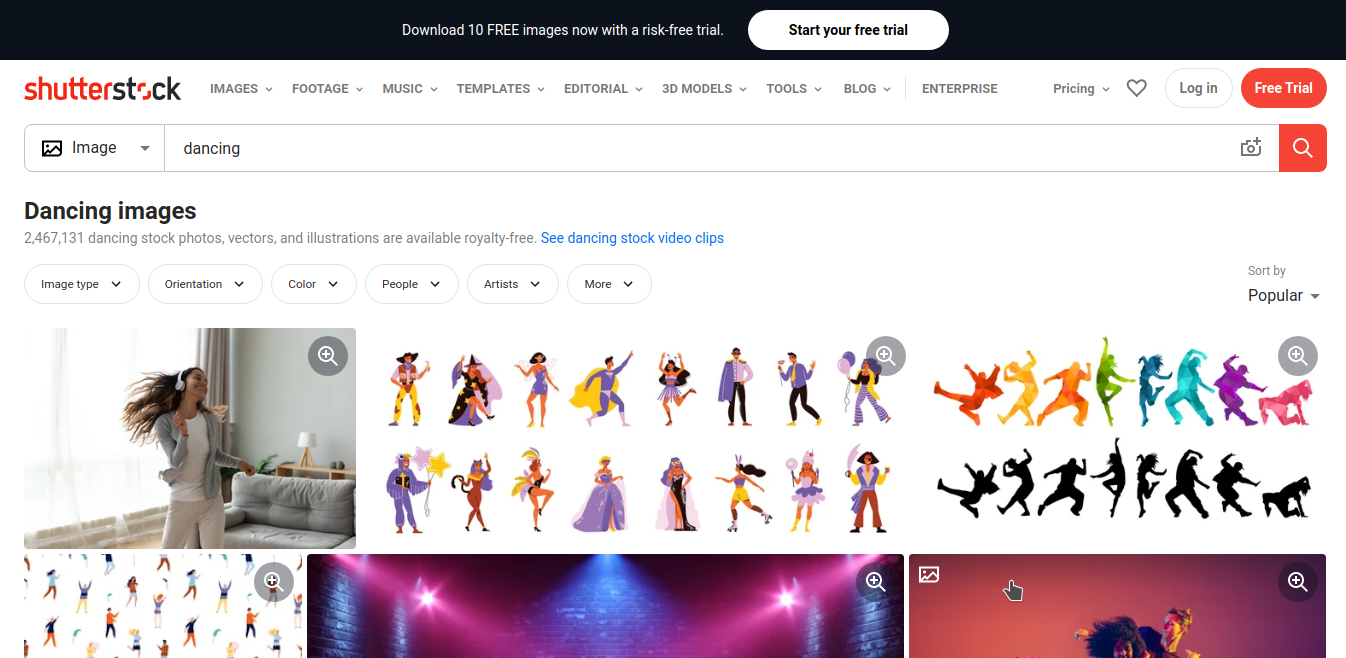
- Unsplash
- Negative Space

- New Old Stock
Adding Featured Image in WordPress:
To add a post thumbnail or featured image in WordPress, you can follow the below steps:
- Edit or create a new blog post.
- The content editor will appear.
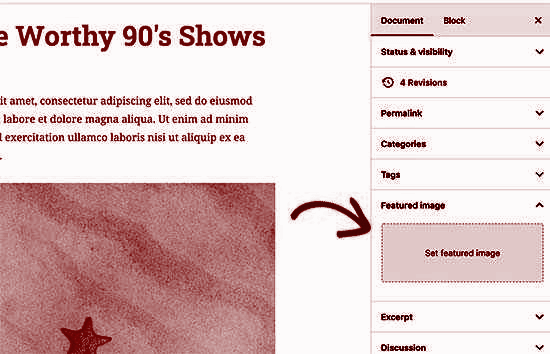
- Locate the featured image tab in the right column.
- Click on the ‘Set Featured Image’ area.
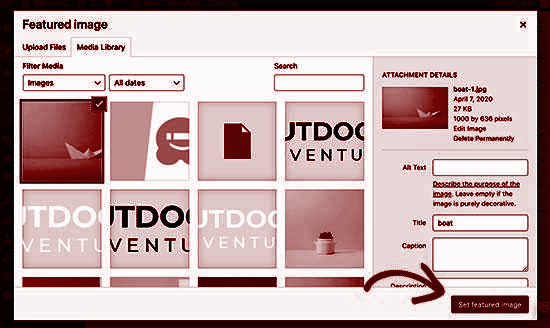
- The WordPress media uploader popup will appear.
- Now, you have two choices:
- Upload an image from your computer.
- Use an existing image from your media library.
- Select the image.
- Click on the Set Featured Image button.
- A preview of the featured image will be displayed in the right column.
- The actual featured image might look different when used with different themes.
- Save or publish your post.
- Preview the post.
Now, that you have learned how to add featured images to your WordPress websites, you should also understand the extra steps that you might have to take after or while adding featured images to your WordPress websites. Some of these tasks are:
- You might have downloaded a high-resolution image that might have to be optimized for the web before using them as featured images.
- You might also need to adjust how the featured images are displayed by the theme you are using.
- You might have to get at least a basic understanding of CSS or WordPress coding skills to modify how the featured images are displayed.
In the new default theme Twenty Nineteen or other modern themes of WordPress, a color overlay is also available on the featured images. To remove or change the color you can follow the below steps.
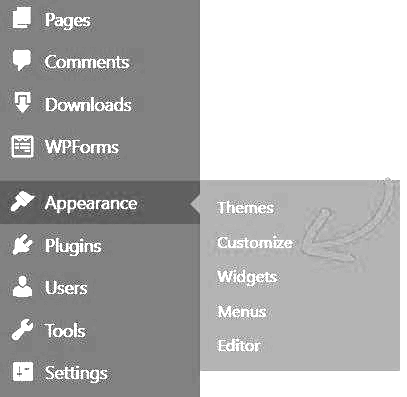
- Open your WordPress menu.
- Click on the Appearance » Customize button.
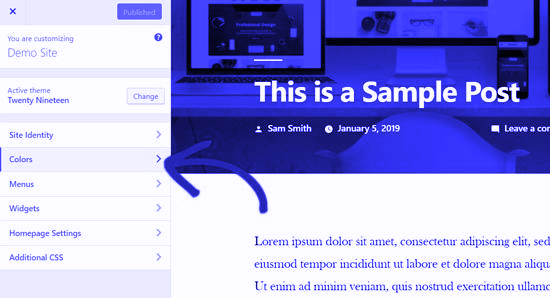
- The Customize panel will appear.
- Click the Colors option on the left.
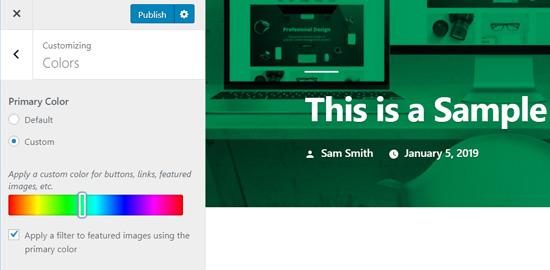
To change your theme’s primary color:
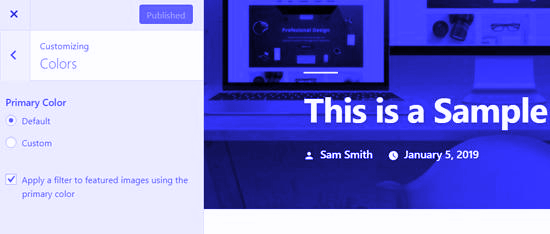
- Select the Custom option.
- Choose a color.
To disable the color filter:
- Remove the check on the “Apply a filter to featured images using the primary color” option.
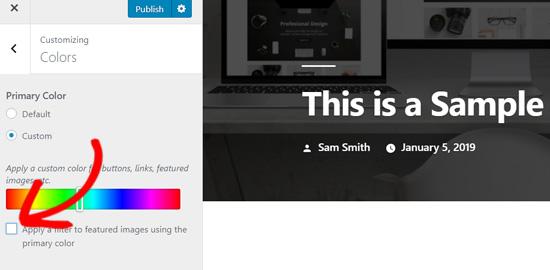
If your theme does not support image filters, you will not get the above option.
Theme Developers Guide to Featured Image and Post Thumbnails in WordPress:
Though it is rare, you might still come across a theme that might not support featured images. Your content editor will not have the option to add a featured image if you are using a theme with no built-in support for featured images. In this case, you can follow the below steps to add featured image support in your WordPress theme.
- Open your theme’s functions.php file.
- Add the below line of code.
add_theme_support( 'post-thumbnails' );
- The featured image support for posts and pages will thus be enabled.
- Go to posts or page block editor.
- Verify that the featured image option is enabled.
Now that the featured image is enabled, you need to display featured images in your theme. To achieve that, you can follow the below steps.
- Edit your templates.
- Add the below line of code where the featured image needs to be displayed.
<?php the_post_thumbnail(); >
- Though it is suggested to add the above code inside the post loop, however, the files in which you need to add the above code is mostly dependent on the choice of your theme.
- You can check the WordPress theme hierarchy cheat sheet to get a better idea about the working of your theme.
Apart from adding featured image support and exhibiting featured images in your theme, you can also modify the appearance of the featured images. All you need is some basic coding skills.
Example 1:: Follow the below steps to set image size for the uploaded featured images:
- Open the functions.php file.
- Add the below line of code to it.
set_post_thumbnail_size(40, 40);
- Here, instead of 40, you can pass the value of width and height, as per your requirement.
Example 2:: Follow the below steps to set additional image sizes to use with the_post_thumbnail() function.
- Open the appropriate theme file.
- Add the below line of code to it.
add_image_size( 'single-post-thumbnail', 500, 150 );
- Here, the name of the new image size is single-post-thumbnail.
- Also, you can change the value of height and width as per your requirement. Here, we are using 500px and 150 px.
Example 3:: Featured image function with specific image size.
- Open the appropriate file.
- Add the below line of code to it.
<?php the_post_thumbnail( 'single-post-thumbnail' ); >
Apart from the above examples, there are various other functionalities or attributes that you can modify for your featured images. We hope that this article will help you in increasing your understanding of the working of Post Thumbnails or Featured Images in WordPress.