Step by Step Method How to Install WordPress
WordPress is thought for being one in all the foremost common content management system (CMS) software system choices accessible thus far. One among the most reasons for this can be as a result of WordPress is simple to use and meets the requirements of just about any form of web site and business.
Installing the CMS may be an easy method that solely takes concerning 5 minutes. However if you’re new the software package, putting in WordPress could seem intimidating.
How to Install WordPress
WordPress keeps installation easy — despite that methodology method you decide on, the method ought to solely take concerning 5 minutes. We are going to discuss the four WordPress installation choices below and who they’re most helpful for.
1. Select a Hosting supplier With Automatic WordPress Installation
There are varieties of web site hosting suppliers that provide automatic WordPress installation, like Godaddy, Bigrock, Bluehost, WP Engine, or Dreamhost, creating this the best installation methodology. This can be an excellent possibility if you’re new to WordPress or don’t have a background in web development. If you’re unsure whether or not or not your supplier offers automatic WordPress installation, look at their web site — that data is usually listed on their support page.
2. Installation of WordPress on your PC
You can install WordPress on to your pc. This methodology is rare as a result of, though you’ll have a fully-functioning web site, WordPress can solely be accessible domestically. This technique is often only helpful if you’re simply trying to mess around with the CMS on your own and don’t need a web site that others will access.
3. Use the Hosting cPanel and Auto-Installers
Installing WordPress through the cPanel may be a smart choice if you wish a small amount additional of an active expertise. This can be additional common for internet developers or people that have some style of technical background who wish to tailor the installation method.
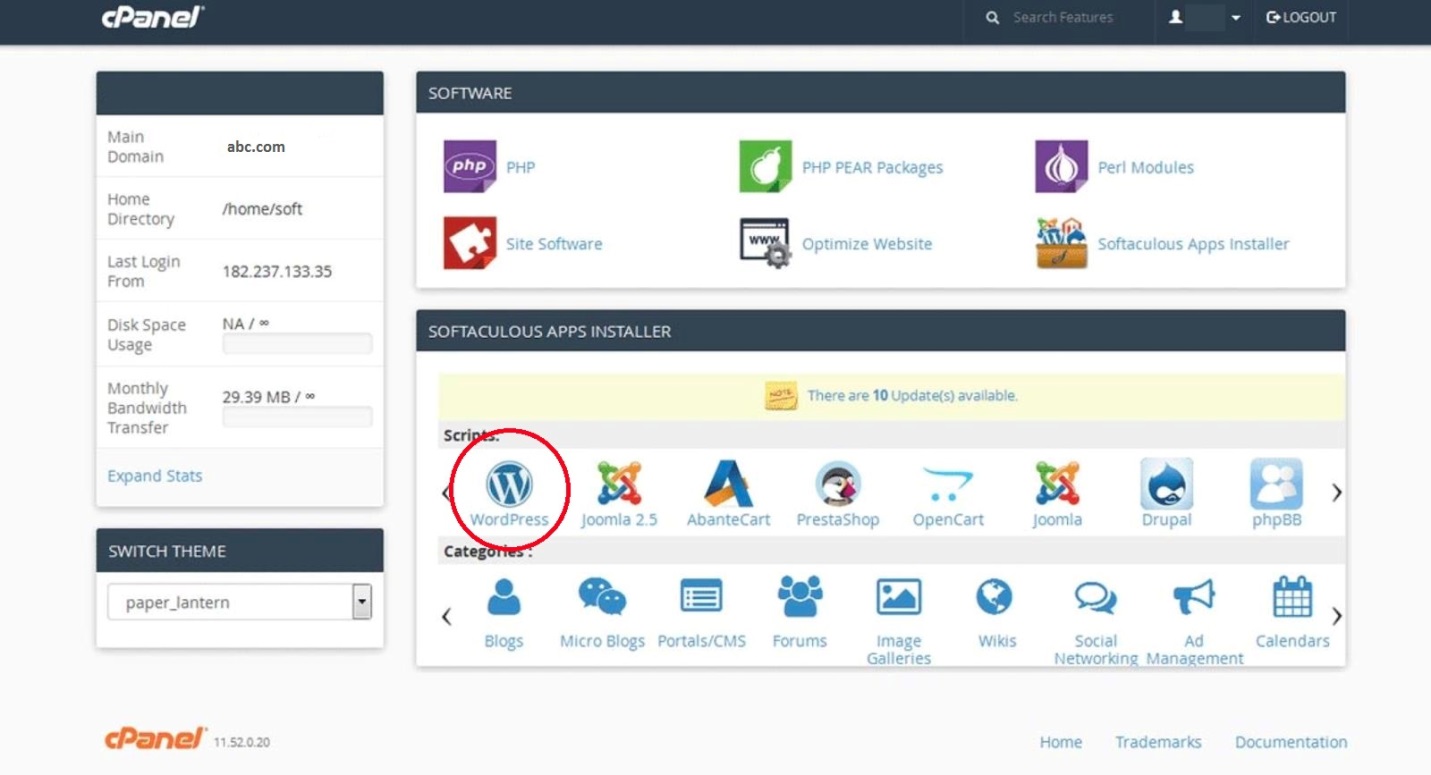
The cPanel may be a dashboard that a lot of hosting suppliers offer you access to upon sign in. Once you login to your panel with the credentials provided by your host, you ought to see an area in your cPanel known as “auto-installers”. All cPanel look something like this:
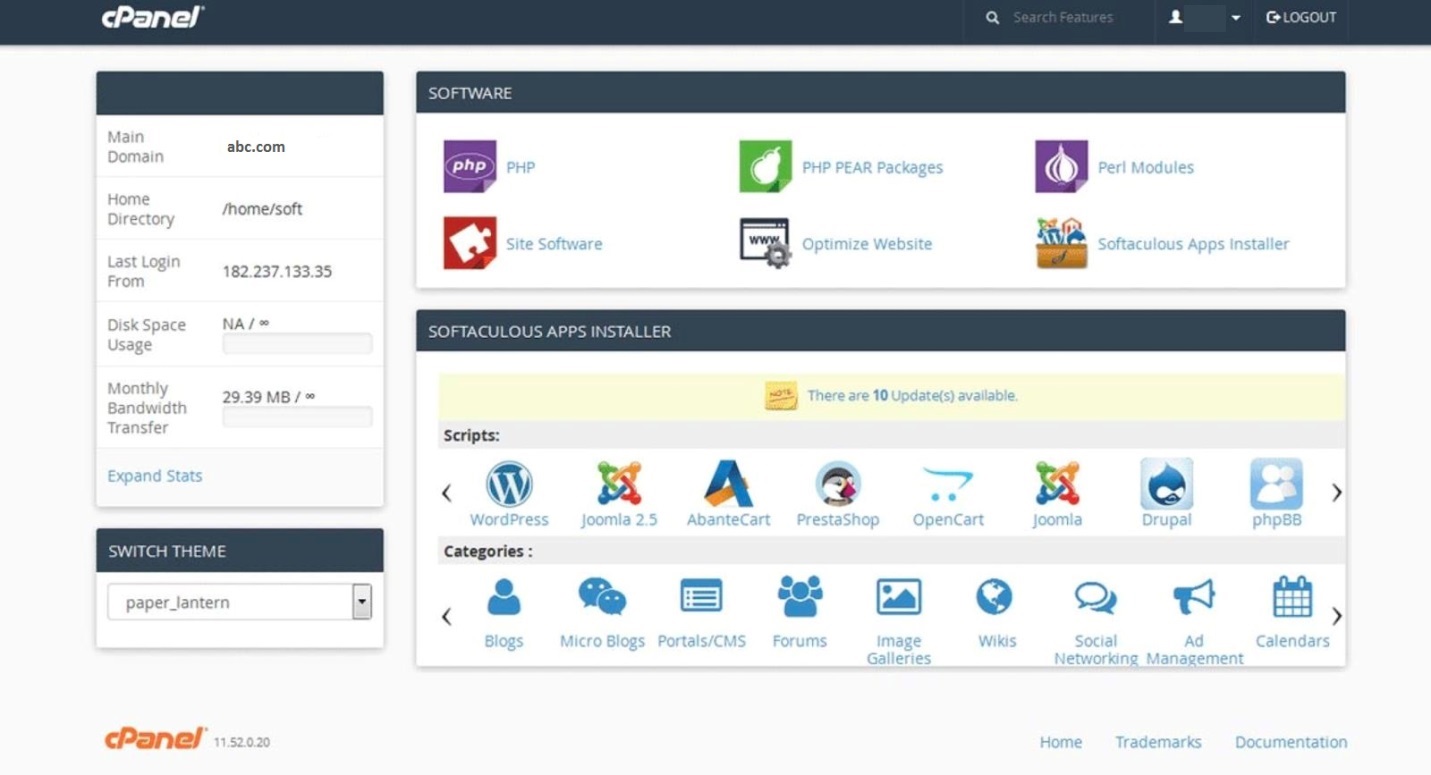
Underneath the auto-installer section in your hosting cPanel, click on the WordPress icon.
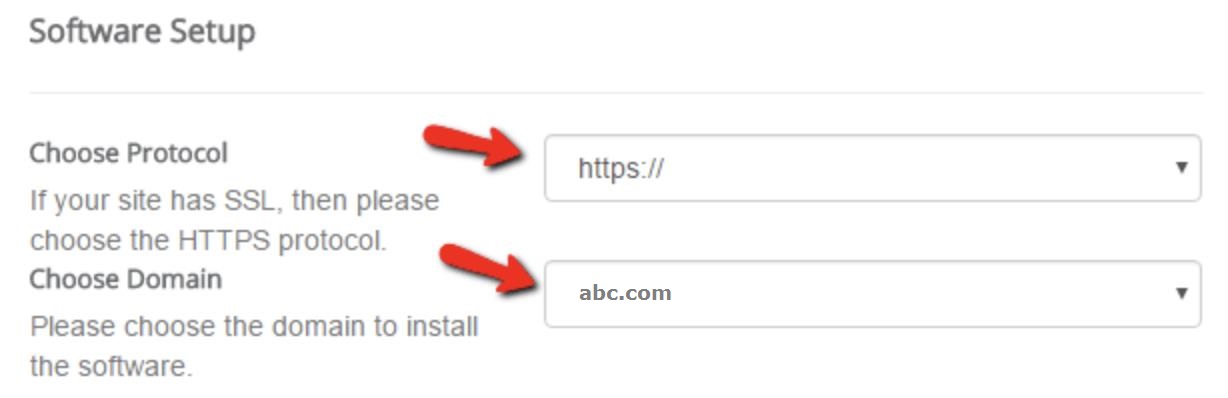
You should be redirected to a page wherever you’ll click “Install Now”. Once you have got clicked that button, you may be asked to enter the name wherever you wish WordPress to be put in. despite the cPanel or auto-installer you’re using, this page ought to look similar.
Under “Protocol”, the default is “http”.
You’ll even be asked if you wish to enter a “Directory”. In most cases, you’ll wish to go away this blank to confirm WordPress is put in to your main domain. If you allow the sphere blank, your address can seem like this: www.abc.com. If you enter a directory, your address can seem like this: www.abc.com/blog that means WordPress can solely be put in on a little of your web site.
You can conjointly enter the name of your web site (read: business name) and outline (read: purpose of your website) underneath “Site Settings”. If you wish to alter these later, you’ll forever return in and update them.
The last item you’ll got to do is complete your admin page data. Enter your admin username, password, email address, and the rest needed — there could also be a number of additional inquiries to complete supported the auto-installer you selected. Then, click “Install”.
You should currently be able to access the backend of your web site on WordPress at www.abc.com/wp-admin. This can be also wherever you’ll edit your admin details if required.
4. Manually Install With FTP
Between the numerous of web site hosting suppliers that automatically install WordPress for you, further because the auto-installers accessible in your cPanel, there isn’t extremely a desire to manually install the software with an FTP. However, if you are doing opt for this installation route, you’ll follow the steps below.
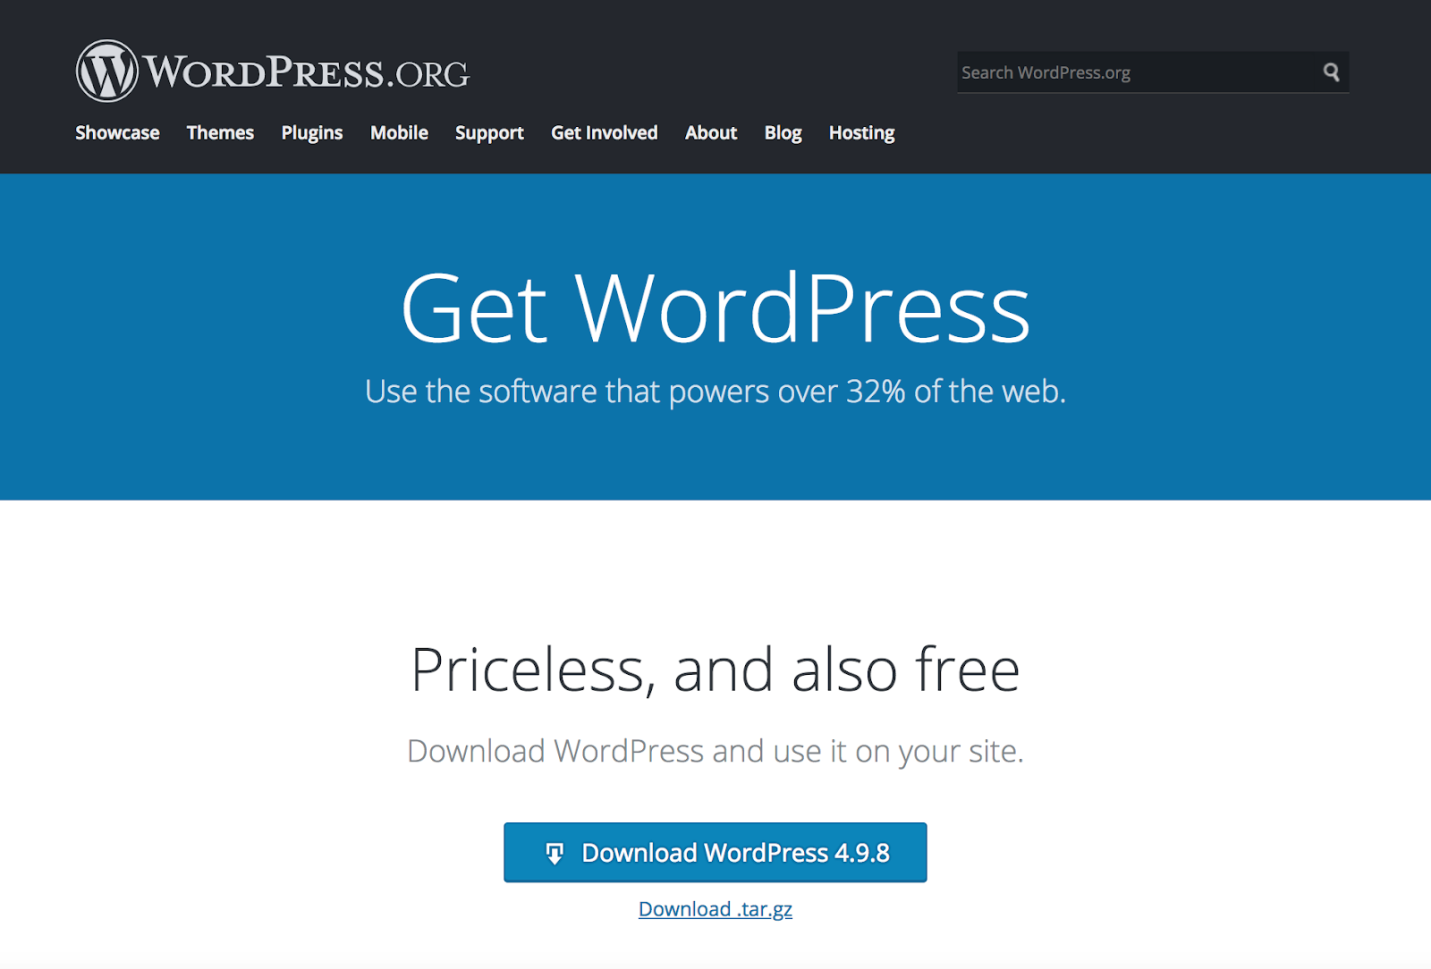
First, you’ll need an FTP program like SmartFTP or FileZilla (as mentioned within the 5 tasks you would like to finish before starting installation). Next, head to the WordPress web site and transfer the most recent version of the CMS.
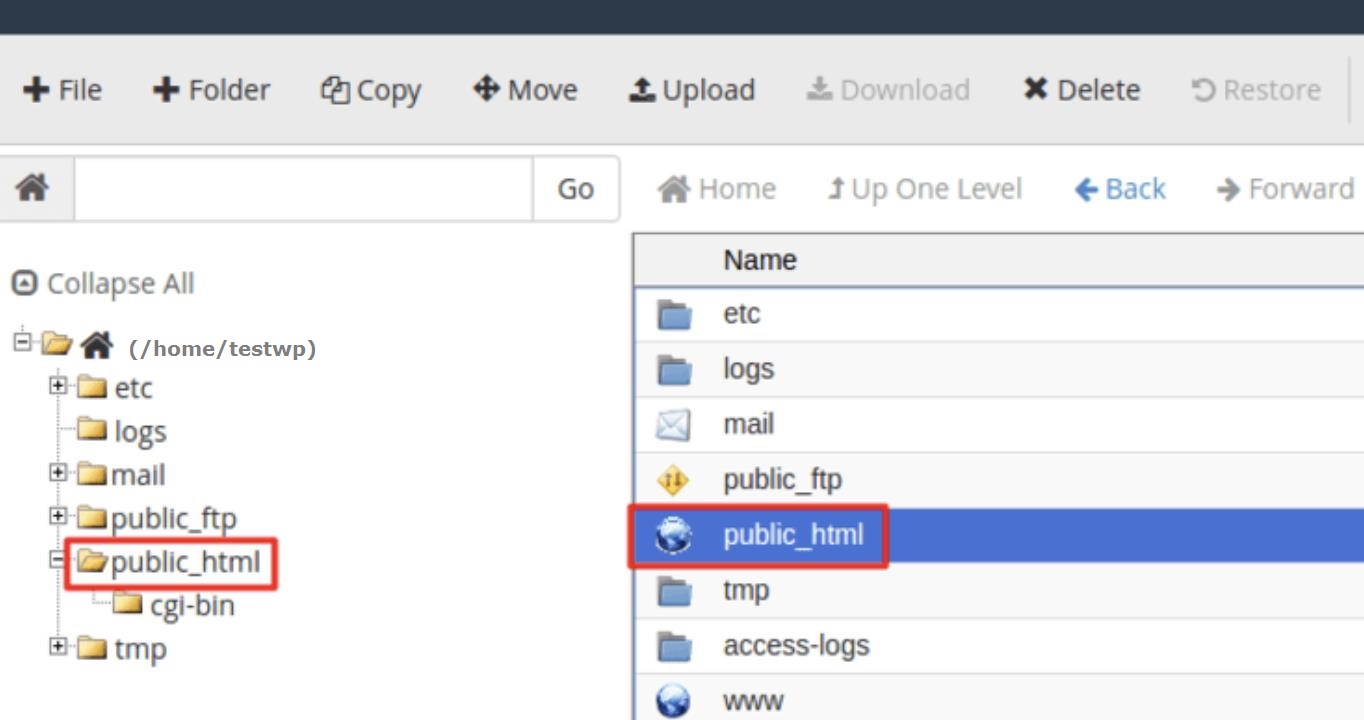
Then unzip the WordPress file and transfer it to your public directory that ought to look one thing like this: public_html.
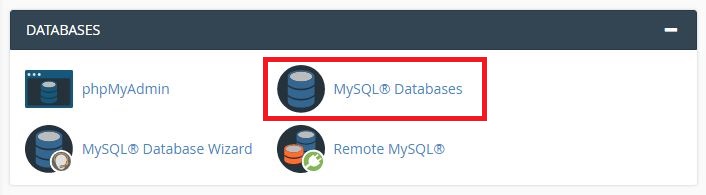
Go to your cPanel and look the “MySQL Databases” button. All panels’s ought to have an analogous look, though your MySQL button is also settled in a very slightly completely different location.
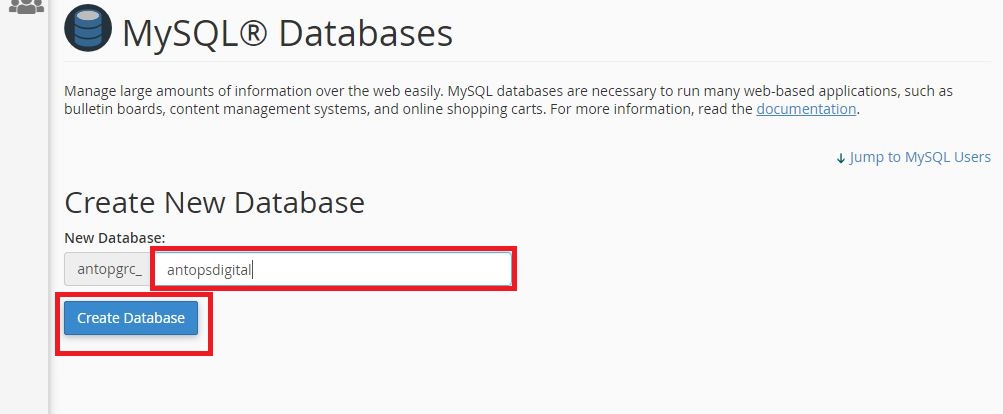
Follow the prompt that asks you to enter your database name. Once you have got done that, click “Create Database”.
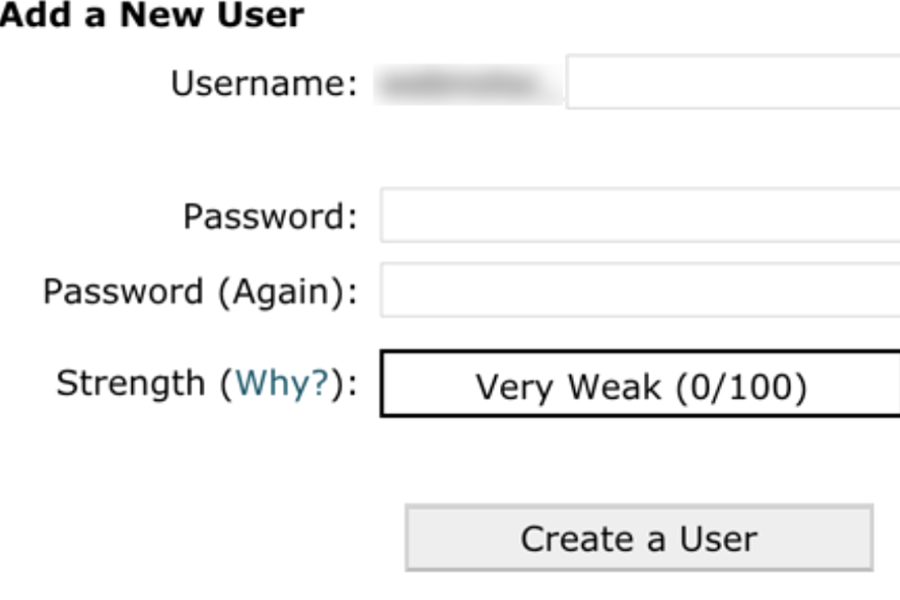
Now that the database has been created, you’ll be asked to form a “user” for your MySQL account. Complete your username and password and click on “Create User”.

Give that user access to your info by adding their information further because the name of the database you’re adding them to.
On the subsequent page, you’ll be asked concerning the privileges you wish to supply that user — confirm they’re all checked.
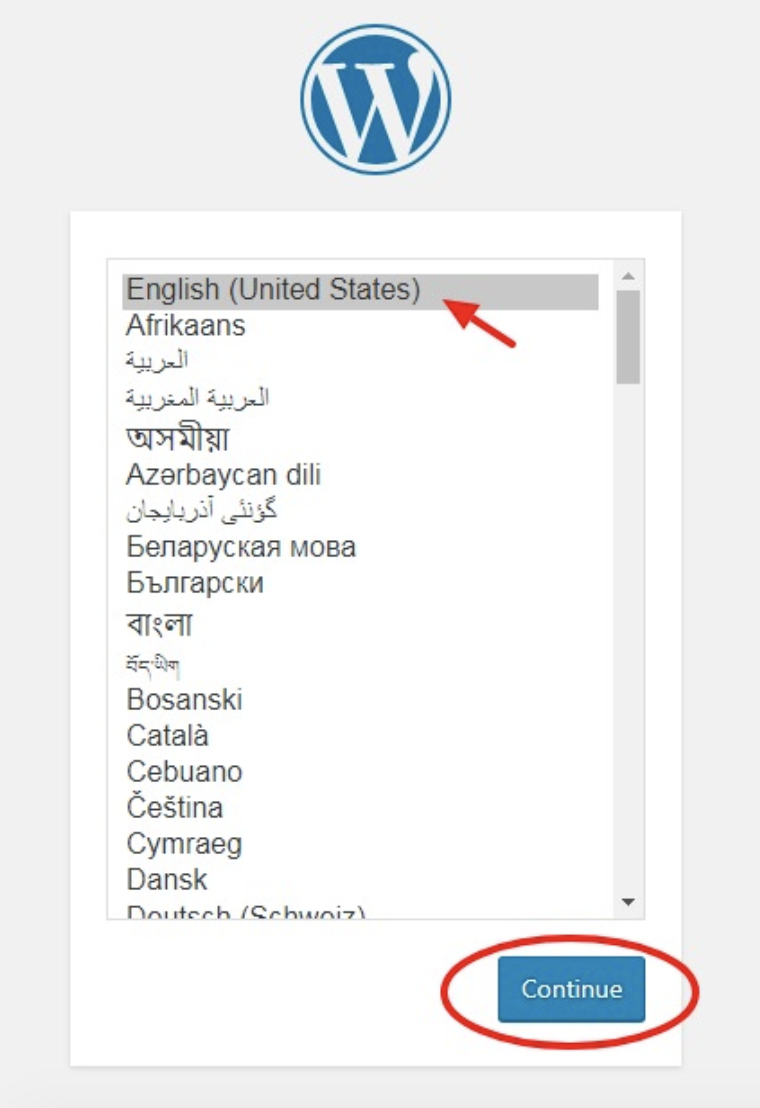
By now your FTP transfer ought to be complete and it’s time to go to your domain to finish the install. If the transfer was self-made, WordPress can prompt you to decide on your language after you visit your domain.
Pick your required language and click on “Continue”.
You’ll then be asked to enter your info “Name”, “Username”, “Password”, “Database Host”, and “Table Prefix”.
Once you’ve completed those fields, click “Submit”.
Click the button that says “Run the Install”. You’ll be asked to present WordPress your admin data. This may include your “Site Title”, “Username”, “Password”, and “Email” that you just created previously.
Finally, click “Install WordPress”. You ought to currently be able to log into WordPress along with your username and password.
Wow, You Install the WordPress!