WordPress – Insert Media
The purpose behind adding media in WordPress is to use the file in any post for customization. The custom file supports to upgrade the quality of your post. Here is the easy method of inserting your uploaded file to your post, where you need the media file. Follow the given step properly to insert the custom file in your desired post for customization. It is recommended to look at the picture step by step to avoid any mistake.
- Click on Post from left section of WordPress. Now you will see some options, click on Add New to add any new media in WordPress.
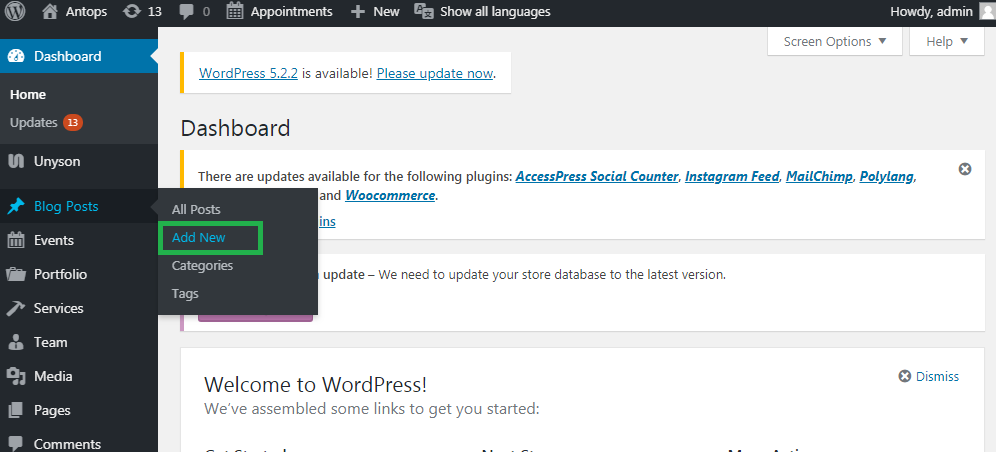
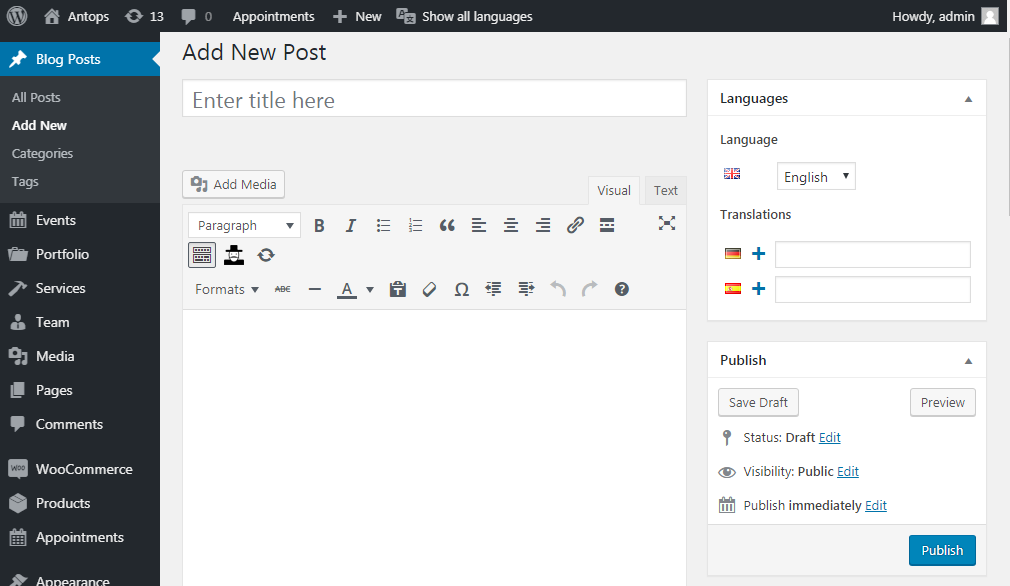
- Now click on Add Media as shown in image below.
- WordPress allows you to select media files from the Media Library tab. You can add your uploaded media files from Media Library
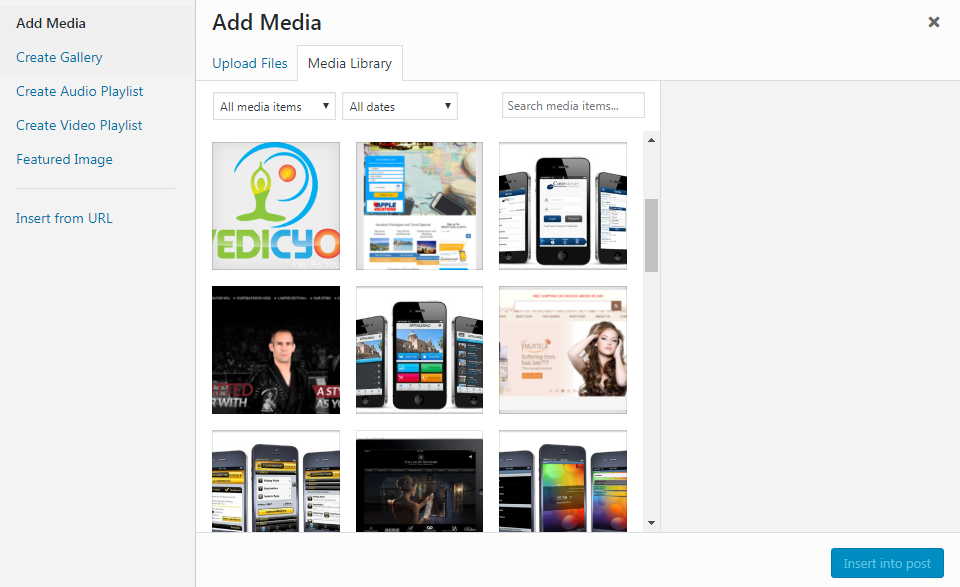
In Media Library, you will find information about the selected media file on the right side of the screen under the Attachment Details. Now click on Insert Post button, the images will be inserted into the Article. In the Attachment Details section, you will see details about the image such as URL, Title, Caption, Alternative Text and description. These details will help you to pick the right image.
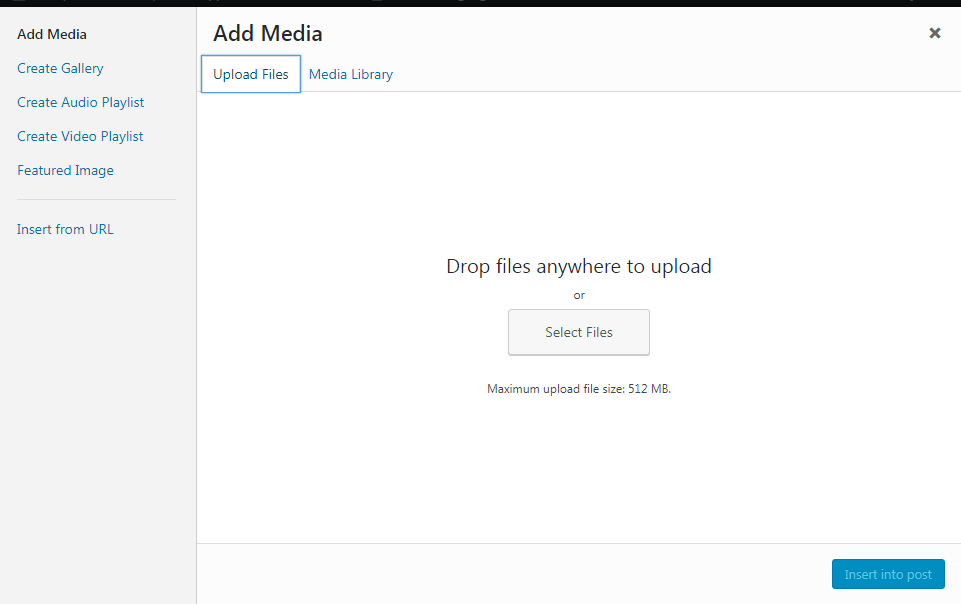
If you want to upload a media file from your system, click on Upload Files instead of Media Library. Now, click on select files to upload files or you can drag and drop your file on the page. After picking up the file, you can view the file as well as you can remove the file. If you have finalized to upload selected files, click on Insert into Post button to get your files in your post.